
Start your VPS now with FREE $100 credit.
Let’s Encrypt is a free, non-profit, auto-renewed, and open SSL certificate authority, which can be deployed free of charge on any operating system, including Linux, Windows Server, or MacOS. Let’s Encrypt SSL can be installed on almost all type of web servers, including Apache, NGINX, NGINX Plus, OpenLiteSpeed, and LiteSpeed Enterprise Web Server. Currently Let’s Encrypt becomes major free SSL certificate which support many websites on the public internet.
Many websites or blog owners choose Let’s Encrypt SSL to secure their website or blog apps, rather than buy a paid SSL certificates like Comodo PositiveSSL, EssentialSSL, EV SSL, Multi-Domain SSL, Sectigo SSL, Geotrust SSL, DigiCert SSL, and much more. Let’s Encrypt become alternative options by many website or blog owners to reduce costs as small as possible to securing their website applications. Right now, almost all web browser like Google Chrome, Mozilla Firefox, Safari, Opera and Internet Explorer trust Let’s Encrypt as a trusted certificate SSLs.
Let’s Encrypt is currently maintenanced and provided by the nonprofit organization, Internet Security Research Group (ISRG). So, ISRG is not selling Let’s Encrypt SSL as paid SSL products like Comodo SSL or another SSL providers. However, ISRG gets the money from their donaturs, major sponsors and funders like IBM, Cisco, VMware, Red Hat, NGINX, HAproxy, MongoDB, AWS (Amazon Web Services), Digital Ocean, SiteGrounds, Vultr, and much more.
Instead, they give the peoples a free digital certificates to enabling the HTTPS connections (SSL/TLS Protocol) for their websites or blogs in public internets for free without spend money at all. Internet Security Research Group want to create a more secure production environments on website or blogs with privacy-respecting web.

There are some key principles behind Let’s Encrypt and ISRG, why they do this for public’s benefit and non-profit. The key principles as follow:
* Free: All website or blog owners or anyone in the public internet which have domain names (e.g. extensions .com, .org, .net, more) can use Let’s Encrypt to gets trusted, open and free SSL certificate with zero cost at all.
* Automated: All type of web servers that running on any operating system like NGINX, Apache, LiteSpeed, or IIS “Internet Information Services” (Windows Server) along with all of its software dependencies can interact with Let’s Encrypt to generate a free SSL certificate which can be used freely, securely configured and automatically renewed.
* Secure: Let’s Encrypt will help website/blog operators to secure their web servers properly without any costs. So, it become a secure platform for advanced TLS security as a best practices, either it from the CA side (Certificate Authority) and website owners.
* Transparent: Let’s Encrypt will issue and generate all certificates free of a charge and then can be revoked, where it can be recorded and inspected publicly for anyone in public internet.
* Open: ISRG provide Let’S Encrypt with open standard where the renewal protocol and automated issuance is published, which can be adopted by other.
* Cooperative: Let’s Encrypt under Internet Security Research Group (ISRG) is a joint effort to benefit the community as much as possible around the public internet, beyond the control of any one organizations. It just like the underlying Internet protocols themselves.
Today we will guide you on how to install Let’s Encrypt SSL on CentOS Stream 9 running the NGINX Web Server. However, before moving to the Let’s Encrypt SSL installation procedure, make sure to meet the following prerequisites. And make sure that your domain name have been propagated properly into your server IPv4 address. It means that the domain names (e.g. our domain name dev.fcgid.com) have been pointed correctly to the server IPv4 address “104.131.86.105” with A and CNAME DNS Records.
PRE-REQUISITES:
* VPS, Cloud or Bare-Metal Servers
* OS Flavours with CentOS Stream 9
* Superuser Privileges (Root Access)
* Familiar with CLI-Based Only or Command-Line Interface
* Gnome Terminal for Linux Desktop
* PuTTy SSH Client for Windows or Mac
* Powershell for Windows 10/11
* DNS Successfully Propagated to Server IPv4 Address
* Should be have a Online Live Website (e.g. dev.fcgid.com)
* NGINX ServerBlock should be setting up properly
1.) Login into your VM via SSH Terminal
First of all you must login into your virtual machine via SSH terminal. Make sure to replace it with your actual server IPv4 address, and SSH port number.
$ ssh [email protected] -p4322
[email protected]'s password:
Activate the web console with: systemctl enable --now cockpit.socket

Last login: Mon May 30 23:34:58 2022 from 125.166.8.37
2.) Install Certbot ACME Client
Then we need to install Certbot in order to generate a free Let’s Encrypt SSL certificate in CentOS Stream 9. Certbot is a ACME Client Implementations which communicate with Let’s Encrypt Authority to fetch and obtain a free SSL certificate, validate and automate the certificate authority (CA) which can be used by any type of web servers for free without any costs.
A.) Let’s download the Certbot ACME Client using the CURL command as follow:
$ curl -O https://dl.eff.org/certbot-auto
% Total % Received % Xferd Average Speed Time Time Time Current
Dload Upload Total Spent Left Speed
100 146 100 146 0 0 284 0 --:--:-- --:--:-- --:--:-- 284
B.) Then move the “certbot-auto” to the directory of “/usr/local/bin/”.
$ mv certbot-auto /usr/local/bin/certbot-auto
C.) Set a correct file permission (0755) for the “certbot-auto” under directory of “/usr/local/bin/”.
$ chmod 0755 /usr/local/bin/certbot-auto
3.) Allow HTTPS Connections (SSL/TLS Protocol) via Firewalld Rules
Don’t forget to enable and allow HTTPS connections (SSL/TLS protocol) in your Firewalld rules if the previously your CentOS 9 server have been securely protected with Firewalld.
A.) Check the Allowed Ports
Simply run the following command to check the allowed port in your Firewalld rules.
$ firewall-cmd --zone=public --permanent --list-ports
80/tcp 443/tcp 4322/tcp 9090/tcp

$ firewall-cmd --permanent --list-ports
80/tcp 443/tcp 4322/tcp 9090/tcp

$ firewall-cmd --list-ports
80/tcp 443/tcp 4322/tcp
B.) Enabling TCP Ports 80 and 443
However, if you’re previously not yet enabling and allowing TCP port 80 and 443 in your Firewalld rule, you can use the following command to enabling the above TCP ports.
$ firewall-cmd --add-port 80/tcp --permanent
$ firewall-cmd --zone=public --permanent --add-port=80/tcp

$ firewall-cmd --add-port 443/tcp --permanent
$ firewall-cmd --zone=public --permanent --add-port=443/tcp
C.) Reload and Restart FirewallD
After you’ve enabling the TCP ports 80 and 443 you can reload and restart the Firewalld using the following commands.
$ firewall-cmd --reload
success

$ systemctl restart firewalld
D.) Check Again the Allowed Ports
Then you can check again the allowed ports using the following commands.
$ firewall-cmd --zone=public --permanent --list-ports

$ firewall-cmd --permanent --list-ports

$ firewall-cmd --list-ports
4.) Install Let’s Encrypt Certificate SSL
After that you need to install Let’s Encrypt Certificate SSL using “certbot” command for NGINX, since we use a Nginx web server in our CentOS Stream 9 machine. Simply run the following command to install Let’s Encrypt Certificate SSL with Certbot ACME Client for NGINX. It will install various Python packages along with its software dependencies.
$ /usr/local/bin/certbot-auto --nginx
5.) Install SNAPD
If the above methods is not working properly, we can use SNAPD package to install Certbot in order to obtain free Let’s Encrypt SSL certificates. Simply run the following command to install SNAPD on CentOS Stream 9.
A.) Install EPEL (Extra Packages for Enterprise Linux)
$ dnf install epel-release
DigitalOcean Agent 38 kB/s | 3.3 kB 00:00
DigitalOcean Droplet Agent 34 kB/s | 3.3 kB 00:00
Package epel-release-9-2.el9.noarch is already installed.
Dependencies resolved.
Nothing to do.
Complete!
B.) Run the System Upgrade
$ dnf upgrade
Last metadata expiration check: 0:00:30 ago on Tue 31 May 2022 05:42:44 AM EDT.
Dependencies resolved.
=====================================================================================================================================================
Package Architecture Version Repository Size
=====================================================================================================================================================
Installing:
kernel x86_64 5.14.0-96.el9 baseos 905 k
Upgrading:
NetworkManager x86_64 1:1.39.5-1.el9 baseos 2.1 M
NetworkManager-libnm x86_64 1:1.39.5-1.el9 baseos 1.7 M
NetworkManager-team x86_64 1:1.39.5-1.el9 baseos 34 k
NetworkManager-tui x86_64 1:1.39.5-1.el9 baseos 228 k
audit x86_64 3.0.7-102.el9 baseos 272 k
audit-libs x86_64 3.0.7-102.el9 baseos 117 k
chrony x86_64 4.2-1.el9 baseos 318 k
cloud-init noarch 22.1-1.el9 appstream 1.2 M
cockpit-bridge x86_64 269-1.el9 baseos 488 k
cockpit-system noarch 269-1.el9 baseos 3.3 M
cockpit-ws x86_64 269-1.el9 baseos 1.3 M
crypto-policies noarch 20220427-1.gitb2323a1.el9 baseos 83 k
crypto-policies-scripts noarch 20220427-1.gitb2323a1.el9 baseos 95 k
elfutils-default-yama-scope noarch 0.187-4.el9 baseos 16 k
elfutils-libelf x86_64 0.187-4.el9 baseos 196 k
elfutils-libs x86_64 0.187-4.el9 baseos 254 k
expat x86_64 2.4.7-1.el9 baseos 116 k
glibc x86_64 2.34-32.el9 baseos 1.9 M
glibc-common x86_64 2.34-32.el9 baseos 302 k
glibc-gconv-extra x86_64 2.34-32.el9 baseos 1.7 M
glibc-langpack-en x86_64 2.34-32.el9 baseos 656 k
gzip x86_64 1.12-1.el9 baseos 163 k
initscripts-service noarch 10.11.4-1.el9 baseos 15 k
kernel-tools x86_64 5.14.0-96.el9 baseos 1.1 M
kernel-tools-libs x86_64 5.14.0-96.el9 baseos 919 k
kexec-tools x86_64 2.0.24-1.el9 baseos 498 k
kpartx x86_64 0.8.7-9.el9 baseos 52 k
krb5-libs x86_64 1.19.1-17.el9 baseos 733 k
libbasicobjects x86_64 0.1.1-53.el9 baseos 27 k
libcollection x86_64 0.7.0-53.el9 baseos 45 k
libdhash x86_64 0.5.0-53.el9 baseos 30 k
libestr x86_64 0.1.11-4.el9 appstream 26 k
libgcc x86_64 11.3.1-2.el9 baseos 116 k
libgcrypt x86_64 1.10.0-3.el9 baseos 508 k
libgomp x86_64 11.3.1-2.el9 baseos 291 k
libini_config x86_64 1.3.1-53.el9 baseos 67 k
libldb x86_64 2.5.0-1.el9 baseos 189 k
libnl3 x86_64 3.6.0-2.el9 baseos 349 k
libnl3-cli x86_64 3.6.0-2.el9 baseos 230 k
libpath_utils x86_64 0.2.1-53.el9 baseos 30 k
libref_array x86_64 0.1.5-53.el9 baseos 28 k
libsemanage x86_64 3.3-3.el9 baseos 119 k
libstdc++ x86_64 11.3.1-2.el9 baseos 760 k
libtdb x86_64 1.4.6-1.el9 baseos 51 k
libtevent x86_64 0.12.0-0.el9 baseos 45 k
libxml2 x86_64 2.9.13-2.el9 baseos 748 k
openldap x86_64 2.4.59-5.el9 baseos 283 k
openssl x86_64 1:3.0.1-18.el9 baseos 1.2 M
openssl-libs x86_64 1:3.0.1-18.el9 baseos 2.2 M
pam x86_64 1.5.1-10.el9 baseos 620 k
pcre2 x86_64 10.40-2.el9 baseos 237 k
pcre2-syntax noarch 10.40-2.el9 baseos 144 k
procps-ng x86_64 3.3.17-5.el9 baseos 346 k
python3-audit x86_64 3.0.7-102.el9 appstream 84 k
python3-libsemanage x86_64 3.3-3.el9 appstream 81 k
python3-libxml2 x86_64 2.9.13-2.el9 baseos 227 k
qemu-guest-agent x86_64 17:7.0.0-4.el9 appstream 294 k
rsync x86_64 3.2.3-11.el9 baseos 394 k
rsyslog x86_64 8.2102.0-105.el9 appstream 765 k
rsyslog-logrotate x86_64 8.2102.0-105.el9 appstream 12 k
selinux-policy noarch 34.1.32-1.el9 baseos 62 k
selinux-policy-targeted noarch 34.1.32-1.el9 baseos 6.7 M
shadow-utils x86_64 2:4.9-4.el9 baseos 1.2 M
sos noarch 4.3-1.el9 baseos 1.0 M
squashfs-tools x86_64 4.4-8.git1.el9 baseos 165 k
sscg x86_64 3.0.0-5.el9 appstream 46 k
tzdata noarch 2022a-1.el9 baseos 837 k
vim-minimal x86_64 2:8.2.2637-16.el9 baseos 681 k
webkit2gtk3-jsc x86_64 2.36.1-1.el9 appstream 6.2 M
which x86_64 2.21-28.el9 baseos 42 k
zlib x86_64 1.2.11-33.el9 baseos 91 k
Installing dependencies:
kernel-core x86_64 5.14.0-96.el9 baseos 35 M
kernel-modules x86_64 5.14.0-96.el9 baseos 22 M
linux-firmware-whence noarch 20220509-126.el9 baseos 57 k
Installing weak dependencies:
linux-firmware noarch 20220509-126.el9 baseos 244 M

Transaction Summary
=====================================================================================================================================================
Install 5 Packages
Upgrade 71 Packages

Total download size: 348 M
Is this ok [y/N]: y
C.) Install SNAPD
You can install SNAPD package by using EPEL repository for CentOS Stream 9, either it using yum or dnf command on DNF-Enabled system.
$ dnf install snapd
Last metadata expiration check: 0:04:12 ago on Tue 31 May 2022 05:42:44 AM EDT.
Dependencies resolved.
=====================================================================================================================================================
Package Architecture Version Repository Size
=====================================================================================================================================================
Installing:
snapd x86_64 2.55.3-1.el9 epel 15 M
Installing dependencies:
bash-completion noarch 1:2.11-4.el9 baseos 455 k
libpkgconf x86_64 1.7.3-9.el9 baseos 36 k
pkgconf x86_64 1.7.3-9.el9 baseos 41 k
pkgconf-m4 noarch 1.7.3-9.el9 baseos 15 k
pkgconf-pkg-config x86_64 1.7.3-9.el9 baseos 11 k
snap-confine x86_64 2.55.3-1.el9 epel 2.5 M
snapd-selinux noarch 2.55.3-1.el9 epel 234 k

Transaction Summary
=====================================================================================================================================================
Install 8 Packages

Total download size: 18 M
Installed size: 64 M
Is this ok [y/N]: y
D.) Enable Systemd Unit for Snapd Package
After the snapd installed successfully, you must enabling the Systemd Unit which manage the main snap communication socket using the following command line.
$ systemctl enable --now snapd.socket
Created symlink /etc/systemd/system/sockets.target.wants/snapd.socket → /usr/lib/systemd/system/snapd.socket.
It will create a symlink or symbolic link for the snapd.socket file from the directory of “/etc/systemd/system/sockets.target.wants/” to the directory of “/usr/lib/systemd/system/”.
E.) Enable Classic SNAP Support
You can also enable Classic Snap Support using the following command in order to create a symbolic link between “/var/lib/snapd/snap” and “/snap/” directories.
$ ln -s /var/lib/snapd/snap /snap
6.) Verify SNAPD Version is Up To Date
You can ensure and verify that your snapd version is up to date using the following command line. Execute with the following command line to ensure that you have the latest stable version of snapd package.
$ snap install core
2022-05-31T05:57:33-04:00 INFO Waiting for automatic snapd restart...
Warning: /var/lib/snapd/snap/bin was not found in your $PATH. If you've not restarted your session
since you installed snapd, try doing that. Please see https://forum.snapcraft.io/t/9469
for more details.

core 16-2.55.5 from Canonical✓ installed
$ snap refresh core
snap "core" has no updates available
7.) Install Certbot ACME Client using SNAP Command
After that, simply execute on the SSH command line interface using a SNAP command to install Certbot ACME Client for NGINX web server on CentOS Stream 9.
$ snap install --classic certbot
Warning: /var/lib/snapd/snap/bin was not found in your $PATH. If you've not restarted your session
since you installed snapd, try doing that. Please see https://forum.snapcraft.io/t/9469
for more details.

certbot 1.27.0 from Certbot Project (certbot-eff✓) installed
8.) Ensure Certbot command can work properly
Then you need to ensure that the certbot command can run properly on your CentOS Stream 9 using the following instruction on the command line interface.
$ ln -s /snap/bin/certbot /usr/bin/certbot
9.) Obtain Free Let’s Encrypt SSL Certificate with Certbot in a Single Step
Kindly run the following command line to obatin a free Let’s Encrypt certificate SSL withy Certbot command in a single step. It will automatically generate a free certificate SSL with Let’s Encrypt, then ask Certbot to edit NGINX.conf configuration, and lastly will serve the website or blog with HTTPS connection in a single step only.
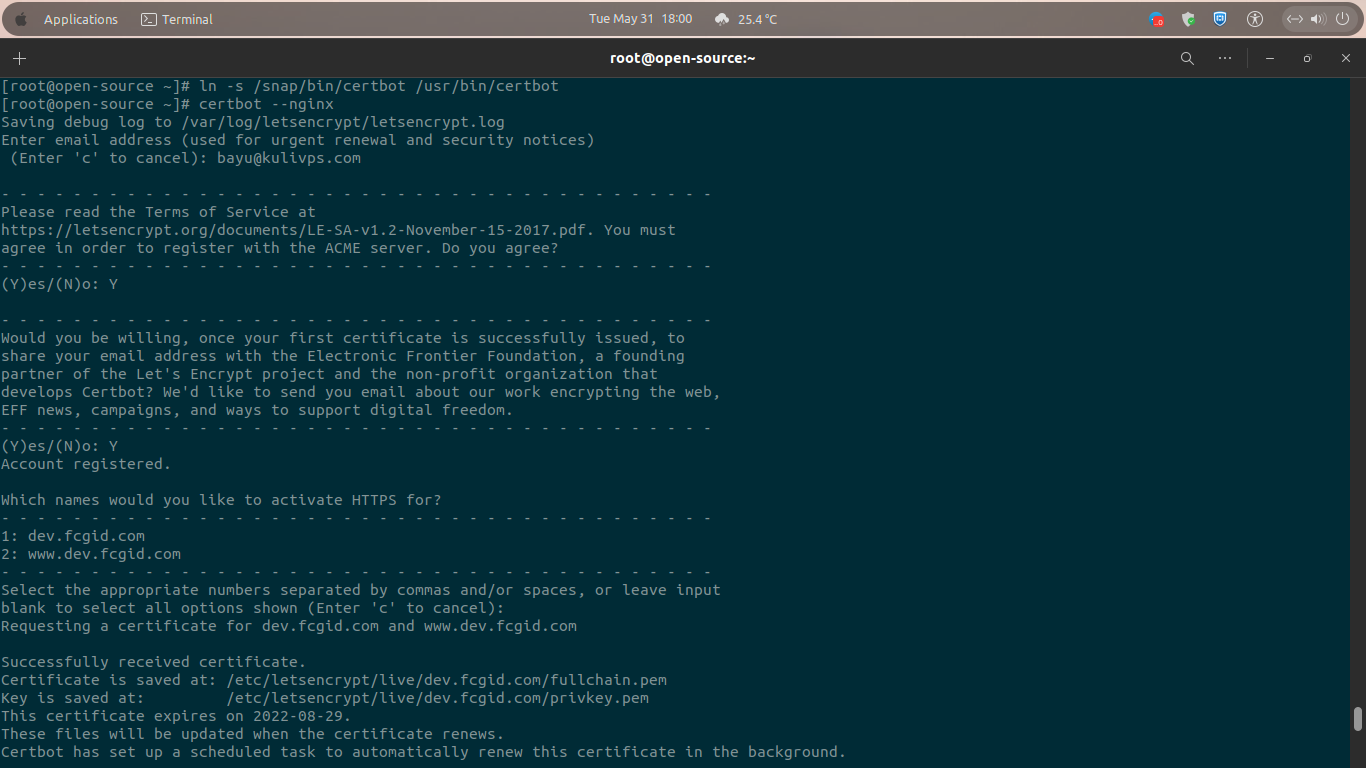
$ certbot --nginx
Saving debug log to /var/log/letsencrypt/letsencrypt.log
Enter email address (used for urgent renewal and security notices)
(Enter 'c' to cancel): [email protected]

- - - - - - - - - - - - - - - - - - - - - - - - - - - - - - - - - - - - - - - -
Please read the Terms of Service at
https://letsencrypt.org/documents/LE-SA-v1.2-November-15-2017.pdf. You must
agree in order to register with the ACME server. Do you agree?
- - - - - - - - - - - - - - - - - - - - - - - - - - - - - - - - - - - - - - - -
(Y)es/(N)o: Y

- - - - - - - - - - - - - - - - - - - - - - - - - - - - - - - - - - - - - - - -
Would you be willing, once your first certificate is successfully issued, to
share your email address with the Electronic Frontier Foundation, a founding
partner of the Let's Encrypt project and the non-profit organization that
develops Certbot? We'd like to send you email about our work encrypting the web,
EFF news, campaigns, and ways to support digital freedom.
- - - - - - - - - - - - - - - - - - - - - - - - - - - - - - - - - - - - - - - -
(Y)es/(N)o: Y
Account registered.

Which names would you like to activate HTTPS for?
- - - - - - - - - - - - - - - - - - - - - - - - - - - - - - - - - - - - - - - -
1: dev.fcgid.com
2: www.dev.fcgid.com
- - - - - - - - - - - - - - - - - - - - - - - - - - - - - - - - - - - - - - - -
Select the appropriate numbers separated by commas and/or spaces, or leave input
blank to select all options shown (Enter 'c' to cancel):
Requesting a certificate for dev.fcgid.com and www.dev.fcgid.com

Successfully received certificate.
Certificate is saved at: /etc/letsencrypt/live/dev.fcgid.com/fullchain.pem
Key is saved at: /etc/letsencrypt/live/dev.fcgid.com/privkey.pem
This certificate expires on 2022-08-29.
These files will be updated when the certificate renews.
Certbot has set up a scheduled task to automatically renew this certificate in the background.

Deploying certificate
Successfully deployed certificate for dev.fcgid.com to /etc/nginx/conf.d/dev.fcgid.com.conf
Successfully deployed certificate for www.dev.fcgid.com to /etc/nginx/conf.d/dev.fcgid.com.conf
Congratulations! You have successfully enabled HTTPS on https://dev.fcgid.com and https://www.dev.fcgid.com

- - - - - - - - - - - - - - - - - - - - - - - - - - - - - - - - - - - - - - - -
If you like Certbot, please consider supporting our work by:
* Donating to ISRG / Let's Encrypt: https://letsencrypt.org/donate
* Donating to EFF: https://eff.org/donate-le
- - - - - - - - - - - - - - - - - - - - - - - - - - - - - - - - - - - - - - - -
10.) Obtain a Certificate Only
In addition to the above method, you can also obtain a Let’s Encrypt certificate SSL using more conservative command as follow. But, you need to change your NGINX.conf configuration manually by hand.
$ certbot certonly --nginx
Saving debug log to /var/log/letsencrypt/letsencrypt.log

Which names would you like to activate HTTPS for?
- - - - - - - - - - - - - - - - - - - - - - - - - - - - - - - - - - - - - - - -
1: dev.fcgid.com
2: www.dev.fcgid.com
- - - - - - - - - - - - - - - - - - - - - - - - - - - - - - - - - - - - - - - -
Select the appropriate numbers separated by commas and/or spaces, or leave input
blank to select all options shown (Enter 'c' to cancel):
Certificate not yet due for renewal

You have an existing certificate that has exactly the same domains or certificate name you requested and isn't close to expiry.
(ref: /etc/letsencrypt/renewal/dev.fcgid.com.conf)

What would you like to do?
- - - - - - - - - - - - - - - - - - - - - - - - - - - - - - - - - - - - - - - -
1: Keep the existing certificate for now
2: Renew & replace the certificate (may be subject to CA rate limits)
- - - - - - - - - - - - - - - - - - - - - - - - - - - - - - - - - - - - - - - -
Select the appropriate number [1-2] then [enter] (press 'c' to cancel): 2
Renewing an existing certificate for dev.fcgid.com and www.dev.fcgid.com

Successfully received certificate.
Certificate is saved at: /etc/letsencrypt/live/dev.fcgid.com/fullchain.pem
Key is saved at: /etc/letsencrypt/live/dev.fcgid.com/privkey.pem
This certificate expires on 2022-08-29.
These files will be updated when the certificate renews.
Certbot has set up a scheduled task to automatically renew this certificate in the background.

- - - - - - - - - - - - - - - - - - - - - - - - - - - - - - - - - - - - - - - -
If you like Certbot, please consider supporting our work by:
* Donating to ISRG / Let's Encrypt: https://letsencrypt.org/donate
* Donating to EFF: https://eff.org/donate-le
- - - - - - - - - - - - - - - - - - - - - - - - - - - - - - - - - - - - - - - -
11.) Let’s Encrypt Auto-Renew Test
Certbot is working with a cronjob a.k.a “systemd timer” which will automatically renew the Let’s Encrypt certificate before its expiration date. It will make your work more easily, since you don’t need to run the Certbot command again since the first installation of your Let’s Encrypt SSL. Unless you change your server configuration, e.g. NGINX serverblock or other NGINX configurations.
Kindly execute with the following command line to test the auto-renew for the Let’s Encrypt SSL certificates:
$ certbot renew --dry-run
Saving debug log to /var/log/letsencrypt/letsencrypt.log

- - - - - - - - - - - - - - - - - - - - - - - - - - - - - - - - - - - - - - - -
Processing /etc/letsencrypt/renewal/dev.fcgid.com.conf
- - - - - - - - - - - - - - - - - - - - - - - - - - - - - - - - - - - - - - - -
Account registered.
Simulating renewal of an existing certificate for dev.fcgid.com and www.dev.fcgid.com

- - - - - - - - - - - - - - - - - - - - - - - - - - - - - - - - - - - - - - - -
Congratulations, all simulated renewals succeeded:
/etc/letsencrypt/live/dev.fcgid.com/fullchain.pem (success)
- - - - - - - - - - - - - - - - - - - - - - - - - - - - - - - - - - - - - - - -
To auto-renewal for the certbot is available with the command which is installed in one of the following locations:
$ /etc/crontab/
$ /etc/cron.*/*
$ systemctl list-timers
NEXT LEFT LAST PASSED UNIT ACTIVATES
Tue 2022-05-31 06:47:36 EDT 13min left Tue 2022-05-31 05:31:19 EDT 1h 2min ago dnf-makecache.timer dnf-makecache.service
Tue 2022-05-31 19:58:00 EDT 13h left n/a n/a snap.certbot.renew.timer snap.certbot.renew.service
Wed 2022-06-01 00:00:00 EDT 17h left Tue 2022-05-31 00:00:04 EDT 6h ago logrotate.timer logrotate.service
Wed 2022-06-01 00:17:04 EDT 17h left Tue 2022-05-31 00:17:04 EDT 6h ago systemd-tmpfiles-clean.timer systemd-tmpfiles-clean.service

4 timers listed.
12.) Verify Let’s Encrypt (Certbot) is Working Properly
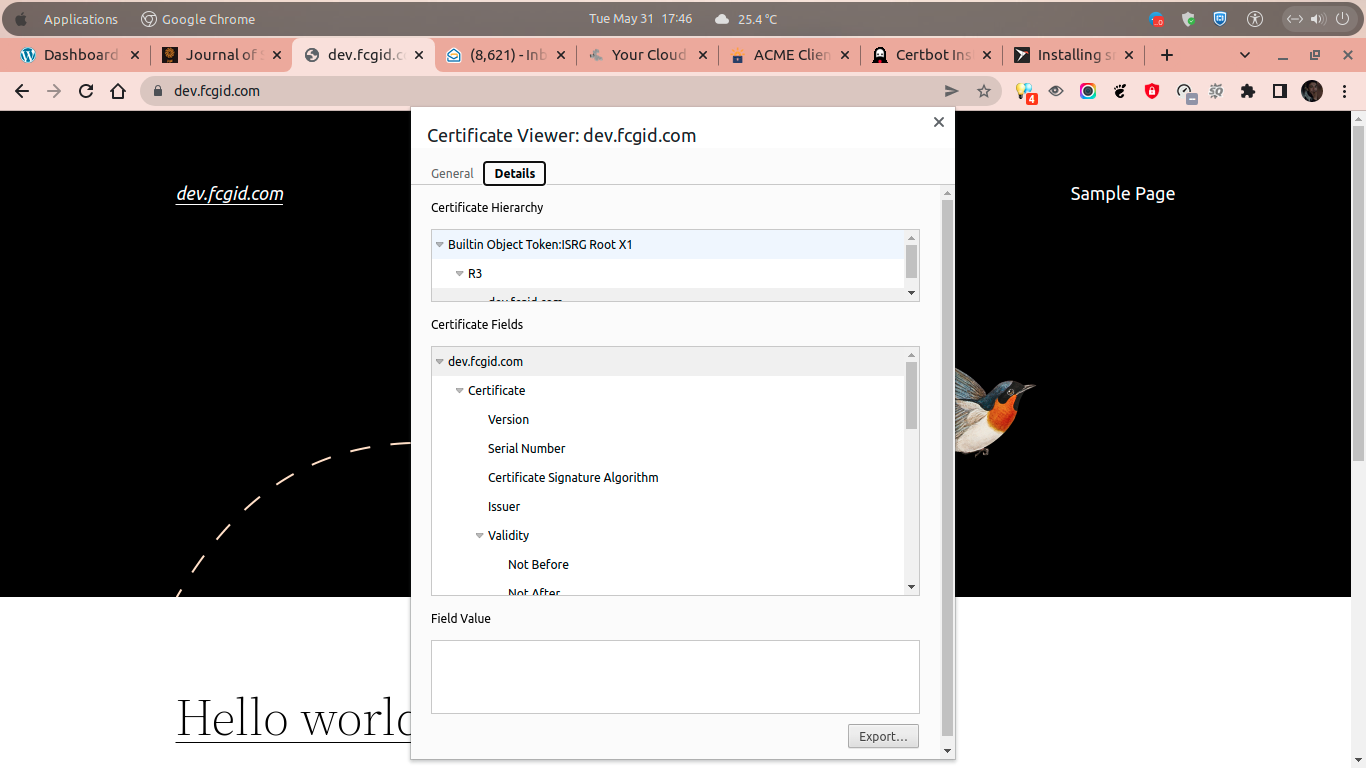
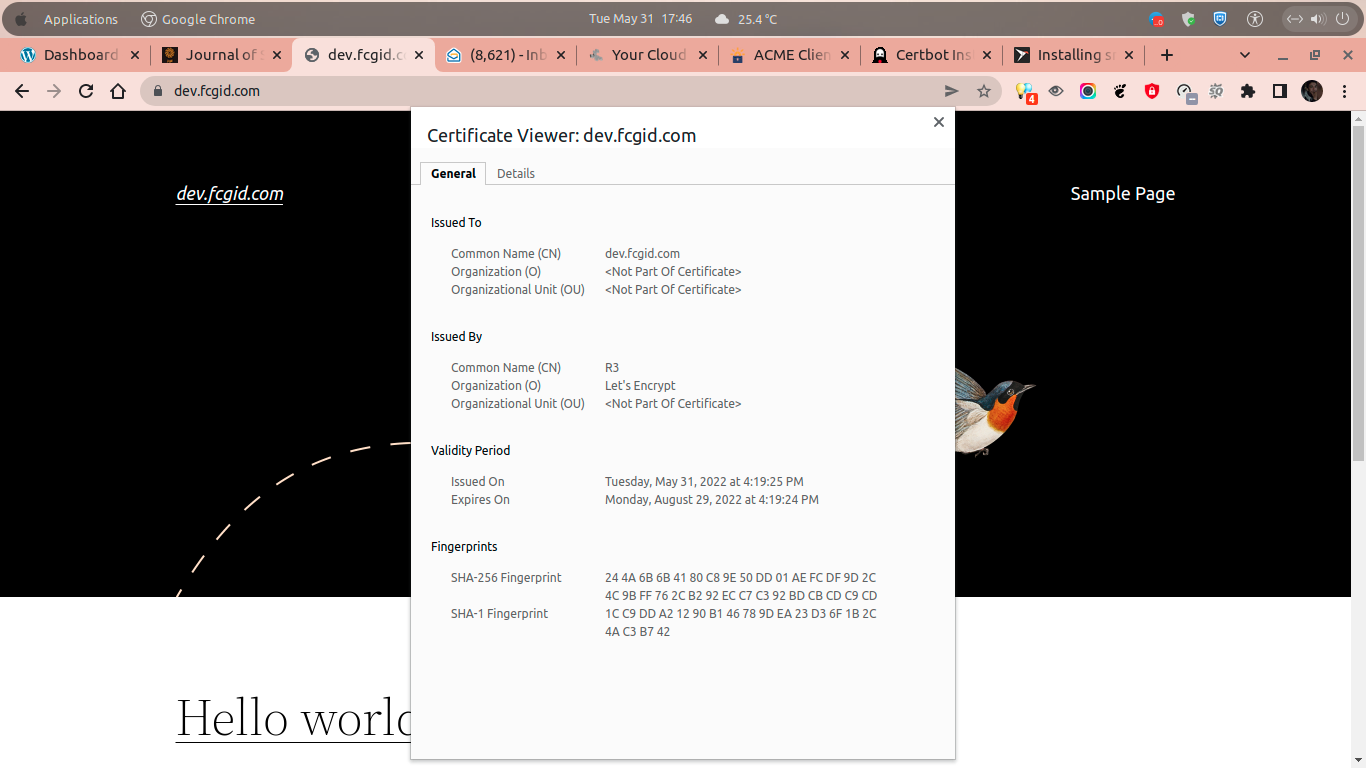
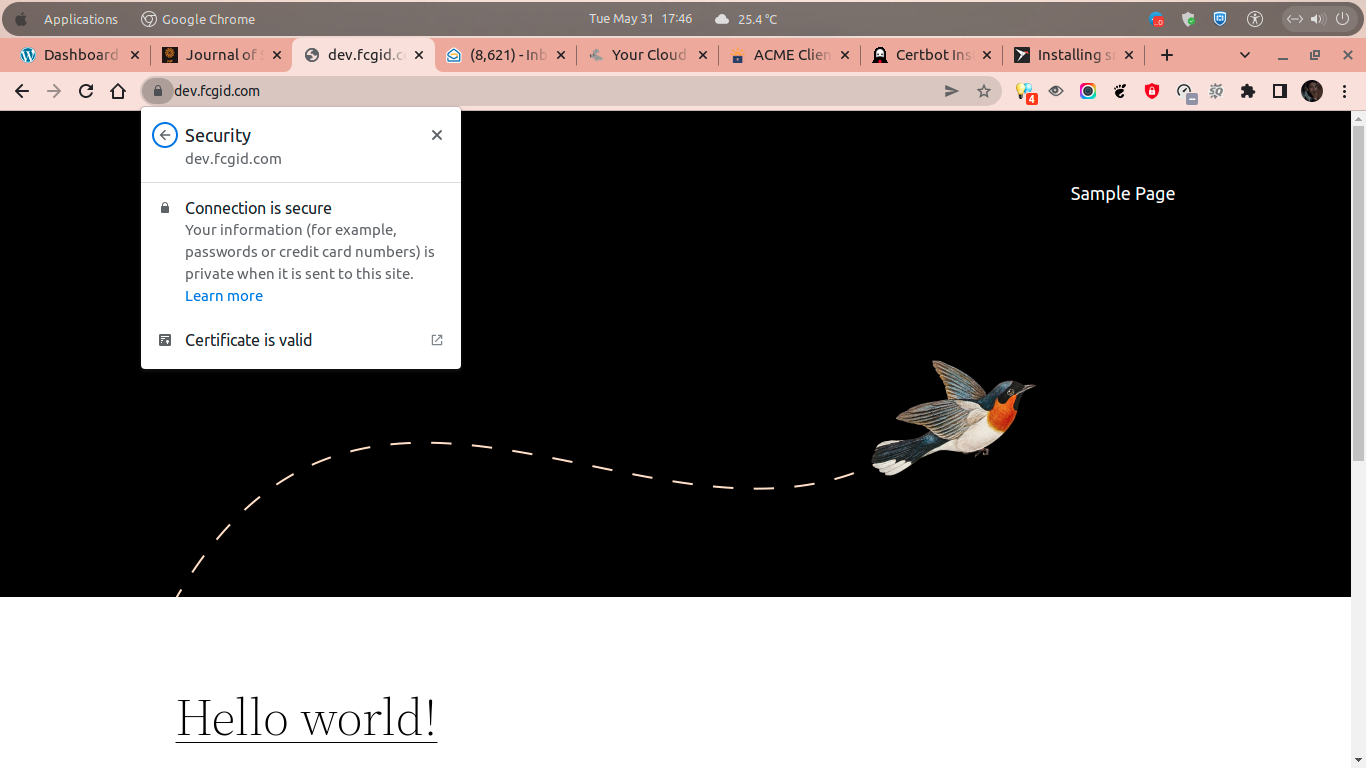
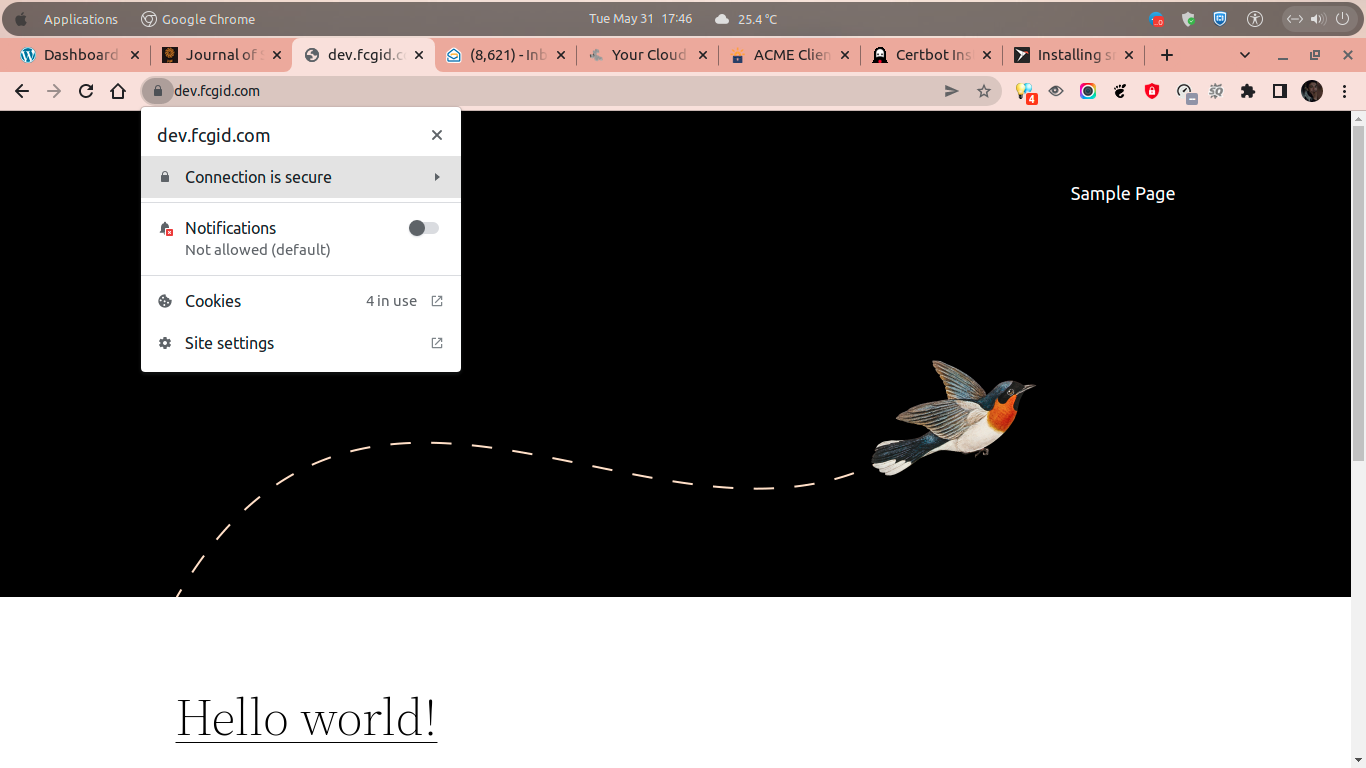
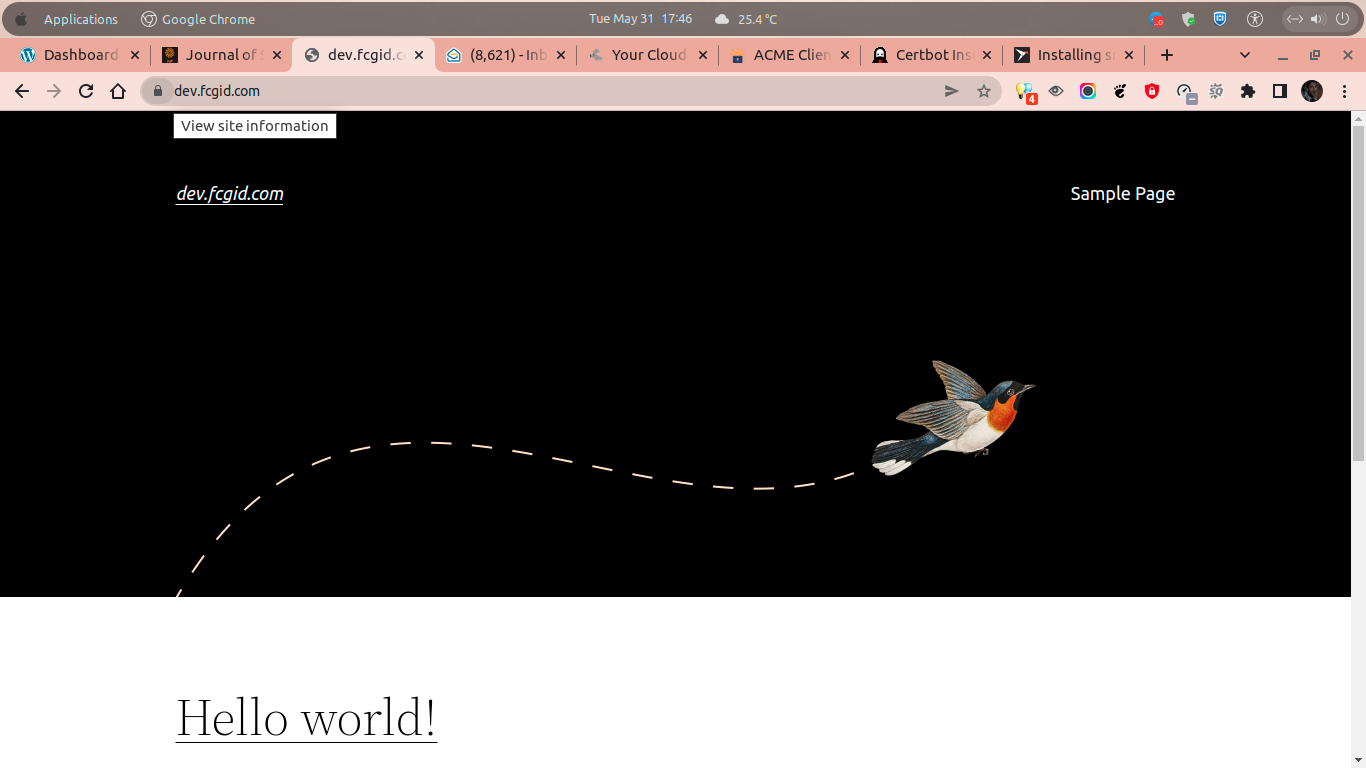
Lastly you can veriry that the free certificate SSL with Let’s Encrypt (Certbot) is working properly on your website by visiting or accessing your website. E.g. visit https://dev.fcgid.com in the web browser and then click on the padlock icon in the URL bar as you can see on the following screenshots.
CONCLUSIONS:
You have successfully setting up, install, and configure a free Let’s Encrypt certificate SSL with Certbot ACME Client on CentOS Stream 9 using SNAP package. Later you can secure all of your websites or blogs using a free certificate SSL from the Let’s Encrypt to make your websites/blogs to run on the secure HTTPS connections under SSL/TLS Protocols.
