
Start your VPS now with FREE $100 credit.
If you have running production machine on public internet or cloud, you must setting up the Firewall to protect your machine from any attack outside your machine. Well, today we will guide you on how to install and setting up Firewalld on CentOS Stream 9. Firewalld is a free and open-source firewall management tool built especially for Linux-based distribution system. It have firewall features by acting as a front-end for the Linux kernel’s netfilter framework with nftables as current default backend.
Firewalld was developed directly by Eric Garver and Thomas Woerner, a developer and worker behind the Red Hat, Inc, a big company which work on Linux Enterprise Edition Grade. Firewalld is written in Python language, and it was first released 11 years ago on January 3, 2011 under GNU General Public License 2. Built specially for Linux-based operating system and Netfilter platform and currently reach its stable release of 1.0.1 which was introduced 9 months ago on August 12, 2021. It have backport to C++ language, however the developer at Red Hat, inc decide to left the backport project in January 2015.
Previously Iptables act as default backed on old version of Firewalld v0.6.0. Thank to its abstractions, Firewalld become acts as an alternative to nft and iptables command line programs. Well, the firewalld follow the UNIX system conventions, which naming the system daemon by appending the letter “d”. Beside installed using default Linux repository, Firewalld is also available on Github repository.
Firewalld mostly installed by default on RHEL-based distros, including CentOS, CloudLinux, Oracle Linux, Rocky Linux and AlmaLinux. However, the cloud server provider something exluded the Firewalld on their VM images. So, the cloud users must install it itself if they want to have Firewalld running on their machine. Firewalld is actually dynamically managed firewall with a support for IPv4, IPv6 firewall settings, ethernet bridges and IP sets.
It more advance, robust and modern compared to the traditional Iptables firewall. There is support network/firewall zones which define the trust level of network connections or interfaces. By using Firewalld, you can separate the runtime service and permanently on Firewalld configuration options. Users can also setting up the Firewalld using the Graphical User Interface (GUI) for any services or application in order to add their firewall rules directly.

There are some benefits if users using Firewalld on their Linux machine, like change the firewall rules can be done quickly in the runtime environment, where no restarts services or daemon is required. There is also Firewalld D-BUS interface which built as simple as possible for any services, applications and also users to adapt the Firewall settings. The Firewalld interface is complete which used for the firewall configurations tools, firewall-cmd, firewall-config and firewall-applet.
Users can separate the runtime services and permanent configurations, so it’s makes users possible to perform evaluation and test in runtime configurations. Where the runtime configuration is only valid up to the next service reload, restart or system reboot. After that the permanent configuration will be loaded again. The runtime environment can is possible to use runtime for settings that should only be active for limited amount of time. For example if the user use the runtime configutation for evaluation purpose, then it’s apparently it working properly, then the configuration is possible to keep for the permanent environment.
There are several Firewalld features, including:
* Complete D-Bus API
* IPv4, IPv6, bridge and ipset support
* IPv4 and IPv6 NAT support
* Firewall zones
* Predefined list of zones, services and icmptypes
* Simple service, port, protocol, source port, masquerading, port forwarding, icmp filter, rich rule, interface and source address handlig in zones
* Simple service definition with ports, protocols, source ports, modules (netfilter helpers) and destination address handling
* Rich Language for more flexible and complex rules in zones
* Timed firewall rules in zones
* Simple log of denied packets
* Direct interface
* Lockdown: Whitelisting of applications that may modify the firewall
* Automatic loading of Linux kernel modules
* Integration with Puppet
* Command line clients for online and offline configuration
* Graphical configuration tool using gtk3
* Applet using Qt4
Firewalld is mostly used as a default firewall management tools in RHEL-based operating system, including Red Hat Enterprise Linux (RHEL) 7/8/9, CentOS 7/8/9, Fedora 18+, SUSE 15+, OpenSUSE 15 and latest version. There several applications and libraries which support Firewalld including fail2ban, libvirt, podman, NetworkManager, and docker (iptables backend only). Before installing Firewalld on your Linux-based distros, make sure to meet the following requirenments.
PREREQUISITES:
* VPS, Cloud or Bare-Metal
* Running under CentOS Stream 9
* Server IPv4 Address with Superuser Privileges (Root Access)
* Nano or VIM Editor
* Gnome Terminal for Linux Desktop
* PuTTy SSH Client for Windows or Mac
* Powershell for Windows 10/11
1.) Login via SSH Terminal
On the first step you need to login into your server via SSH Terminal. Since it’s learning media, so we will use a cheap $5 droplet from Digital Ocean. Simply use the following command to login into your server via SSH terminal. And make sure to change your actual server IPv4 address and SSH port number.
For learning purpose I will use cheap $5 vps or droplets from Digital Ocean. Login to your server via SSH terminal with the following command, and make sure to change the server IP with your actual server IPv4 address.
$ ssh [email protected] -p4322
[email protected]'s password:
Activate the web console with: systemctl enable --now cockpit.socket

Last login: Thu May 26 00:03:36 2022 from 125.164.234.150
2.) Install Firewalld
Then simply use the following command to install Firewalld on your CentOS Stream 9.
$ dnf install firewalld
DigitalOcean Agent 40 kB/s | 3.3 kB 00:00
DigitalOcean Droplet Agent 33 kB/s | 3.3 kB 00:00
Dependencies resolved.
=====================================================================================================================================================
Package Architecture Version Repository Size
=====================================================================================================================================================
Installing:
firewalld noarch 1.0.0-2.el9 baseos 504 k
Installing dependencies:
firewalld-filesystem noarch 1.0.0-2.el9 baseos 9.0 k
ipset x86_64 7.11-6.el9 baseos 41 k
ipset-libs x86_64 7.11-6.el9 baseos 67 k
iptables-nft x86_64 1.8.7-28.el9 baseos 204 k
libnftnl x86_64 1.1.9-4.el9 baseos 85 k
nftables x86_64 1:0.9.8-12.el9 baseos 363 k
python3-firewall noarch 1.0.0-2.el9 baseos 380 k
python3-nftables x86_64 1:0.9.8-12.el9 baseos 19 k
Installing weak dependencies:
libcap-ng-python3 x86_64 0.8.2-7.el9 appstream 30 k

Transaction Summary
=====================================================================================================================================================
Install 10 Packages

Total download size: 1.7 M
Installed size: 6.0 M
Is this ok [y/N]: y
3.) Enable Firewalld by Default
After that if you want to enable Firewalld to start automatically since VM boot, you run the following command.
$ systemctl enable firewalld
4.) Check Firewalld Service
Then you can run the following command to check the status of Firewalld service.
$ systemctl status firewalld
○ firewalld.service - firewalld - dynamic firewall daemon
Loaded: loaded (/usr/lib/systemd/system/firewalld.service; enabled; vendor preset: enabled)
Active: inactive (dead)
Docs: man:firewalld(1)
That mean indicate that Firewalld service is not running corretly, so you can start the Firewalld service using the following command.
$ systemctl start firewalld
Then you can check again the Firewalld status with below command.
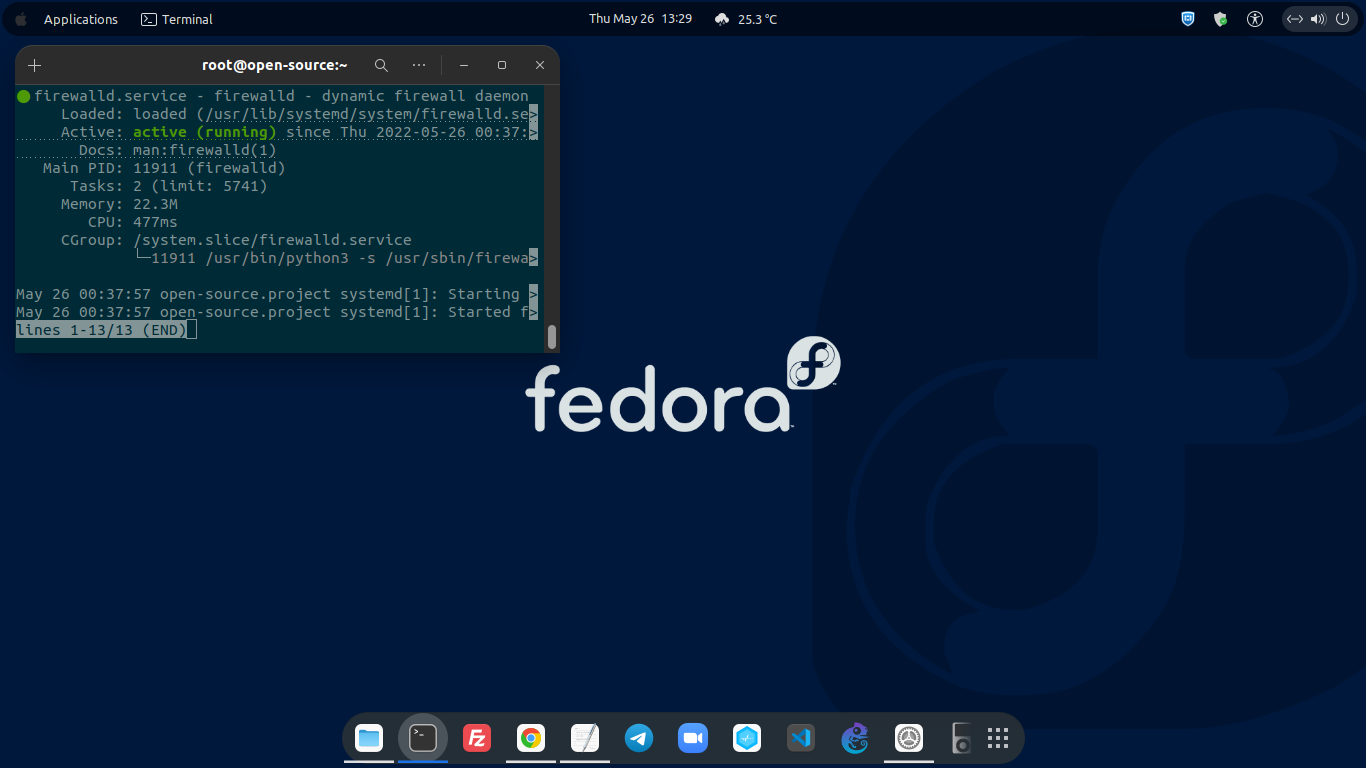
$ systemctl status firewalld
● firewalld.service - firewalld - dynamic firewall daemon
Loaded: loaded (/usr/lib/systemd/system/firewalld.service; enabled; vendor preset: enabled)
Active: active (running) since Thu 2022-05-26 00:33:02 EDT; 11s ago
Docs: man:firewalld(1)
Main PID: 11792 (firewalld)
Tasks: 2 (limit: 5741)
Memory: 23.4M
CPU: 601ms
CGroup: /system.slice/firewalld.service
└─11792 /usr/bin/python3 -s /usr/sbin/firewalld --nofork --nopid

May 26 00:33:01 open-source.project systemd[1]: Starting firewalld - dynamic firewall daemon...
May 26 00:33:02 open-source.project systemd[1]: Started firewalld - dynamic firewall daemon.
5.) Command to Manage Firewalld Service
On CentOS Stream 9, you can use the following available command to manage Firewalld services.
To Start Firewalld.
$ systemctl start firewalld
To Stop Firewalld.
$ systemctl stop firewalld
To Restart Firewalld.
$ systemctl restart firewalld
5.) Add Custom TCP Port on Firewalld
You can add custom TCP port on Firewalld rules to whitelisted specific port. For example, we will whitelisted TCP port 4322, so we must add those port in Firewalld rules using the following command.
$ sudo firewall-cmd --add-port 4322/tcp
success

$ sudo firewall-cmd --add-port 4322/tcp --permanent
success

$ sudo firewall-cmd --zone=public --permanent --add-port=4322/tcp
Warning: ALREADY_ENABLED: 4322:tcp
success
Then restart the Firewalld service with the following command.
$ systemctl restart firewalld
CONCLUSIONS:
From this step, you have been successfully deployed Firewalld on your CentOS Stream 9 machine. If you want to have robust and secure production environment, you should addapt this method on your production machine. Or at least you have Firewall running correctly with secure SSHD port number inside your machine. Without that it will make dark hacker easily to lock down your machine or system which you have been built in long time.
