
Start your VPS now with FREE $100 credit.
In the previous article we have guide you step by step on how to install NGINX v1.22.0 Web Server on CentOS Stream 9. Well, today we will continue to teach you for installing WordPress apps under NGINX on CentOS Stream 9. It’s purely without conrol panel or in another world we run NGINX or LEMP Stack (Linux, Engine-X, MySQL/MariaDB and PHP-FPM) with CLI-based only. So, we will manage all server components with a command-line interface inside CentOS Stream 9.
First of all, we must create a server block in our NGINX configuration, and then put it inside “/etc/nginx/conf.d/” directory for RHEL-based distro. It different with Debian-based distro, which usually a server block is placed under “/etc/nginx/sites-available/” and /etc/nginx/sites-enabled/ directories. The NGINX server block is actually similar to Apache virtual host (vhost) with a function to put website configurations and its rewrite rule in order to host website or blos apps.
However, Apache Vhosts is depend on a .htaccess to put website rewrite rules. Without .htaccess rewrite rule the website or blog (e.g, WordPress) will not run properly on Apache. Well, on NGINX web server it’s very different, where we run the websites or blogs without depend on .htaccess rewrite rules. So, we put all configuration and website rewrite rules in the same place in NGINX server block.
Before moving into installation procedure, make sure to meet the following prerequisites. For learning or development environments, you can buy a cheap $5 cloud VPS (droplet) on Digital Ocean or Vultr.
PREREQUISITES:
* Virtual / Physical Servers, VPS or Cloud
* OS Distros with CentOS Stream 9
* Superuser Privileges (Root Access)
* Familiar with CLI-Based or Command-Line Only
* Gnome Terminal for Linux Desktop
* PuTTy SSH Client for Windows or Mac
* Powershell for Windows 10/11
1.) Login to the Server via SSH Terminal
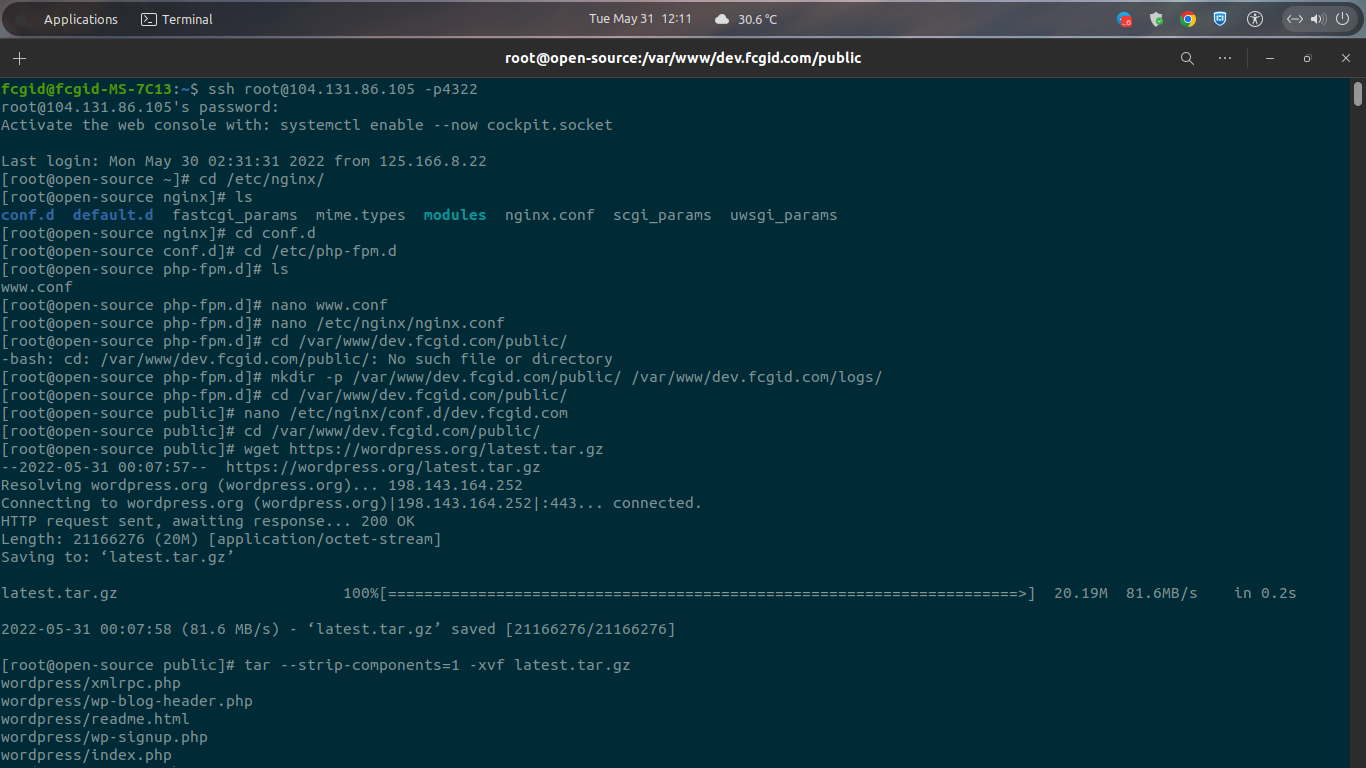
In the first step we must login to the server via SSH terminal. So, it’s work with CLI-based only, without a control panel to run website apps.
$ ssh [email protected] -p4322
[email protected]'s password:
Activate the web console with: systemctl enable --now cockpit.socket

Last login: Mon May 30 02:31:31 2022 from 125.166.8.22
2.) Create Document Roots
Then simply create document roots to put and host your WordPress apps. In cPanel-WHM it’s known as a public_html folder. For learning purpose we will use my a subdomain “dev.fcgid.com” as follow. Usually the CLI-based server only (NGINX or Apache without a control panel) is store all website apps (e.g, WordPress, Drupal or Joomla) in “/var/www/” directory. So, simply run the following command to create document roots for your WordPress apps.
$ mkdir -p /var/www/dev.fcgid.com/public/ /var/www/dev.fcgid.com/logs/

$ cd /var/www/dev.fcgid.com/public/
3.) Create a ServerBlock
Next, simply create a ServerBlock to put all website configuration and rewrite rule in the same place. NGINX will use a serverblock with “server_name” and “listen” directives to BIND the TCP sockets. For example, directives for “server_name fcgid.com www.fcgid.com;” and then there are also listen directives to tells NGINX to listen on TCP port 80 or via secure connections on TCP port 443 (SSL/HTTPS Connections).
Run the following command to check where the directory to put NGINX serverblock. Usually on RHEL-based OS (CentOS, Oracle Linux, Rocky Linux or AlmaLinux) is located in /etc/nginx/conf.d/ directory.
$ cd /etc/nginx/
$ ls
conf.d default.d fastcgi_params mime.types modules nginx.conf scgi_params uwsgi_params
$ cd conf.d
After that copy and paste the following serverblock rule into your actual NGINX serverblock. Make sure to replace the dev.fcgid.com with your actual domain names. You can use your preffered Linux text editors like nano, vim, gedit, sublime, vscode, or atom.
===============================================================

~# nano /etc/nginx/conf.d/dev.fcgid.com.conf
===============================================================

# Virtual Host Configuration by KuliVPS.com (Please don't alter these files manually)
server {
listen 80; ## listen for ipv4; this line is default and implied
#listen [::]:80 default ipv6only=on; ## listen for ipv6

root /var/www/dev.fcgid.com/public/;
index index.php index.html;

# Make site accessible from http://localhost/
server_name dev.fcgid.com www.dev.fcgid.com;

access_log /var/log/nginx/yogitutorial.co.access.log;
error_log /var/log/nginx/yogitutorial.co.error.log;

location / {
try_files $uri $uri/ /index.php?$args;
}

location ~ \.php$ {
try_files $uri =404;
#fastcgi_pass 127.0.0.1:9000; ## you should adjust it as well on php-fpm-pool config or pool configuration files.
fastcgi_pass unix:/run/php-fpm/www.sock;
fastcgi_param SCRIPT_FILENAME $document_root$fastcgi_script_name;
include fastcgi_params;
fastcgi_index index.php;
fastcgi_param HTTP_PROXY "";
#include fastcgi.conf;
# fastcgi_intercept_errors on;
}

# Static Cache Config
location ~* ^.+\.(ogg|ogv|svg|svgz|eot|otf|woff|mp4|ttf|rss|atom|jpg|jpeg|gif|png|ico|css|js|zip|tgz|gz|rar|bz2|doc|xls|exe|ppt|tar|mid|midi|wav|bmp|rtf)$ {
access_log off; log_not_found off; expires 360d;
add_header Access-Control-Allow-Origin "*";
}

location = /robots.txt { access_log off; log_not_found off; }
location ~ /\. { deny all; access_log off; log_not_found off; }

# Rewrite for Google XML Sitemap
rewrite ^/sitemap(-+([a-zA-Z0-9_-]+))?\.xml$ "/index.php?xml_sitemap=params=$2" last;
rewrite ^/sitemap(-+([a-zA-Z0-9_-]+))?\.xml\.gz$ "/index.php?xml_sitemap=params=$2;zip=true" last;
rewrite ^/sitemap(-+([a-zA-Z0-9_-]+))?\.html$ "/index.php?xml_sitemap=params=$2;html=true" last;
rewrite ^/sitemap(-+([a-zA-Z0-9_-]+))?\.html.gz$ "/index.php?xml_sitemap=params=$2;html=true;zip=true" last;

#error_page 404 /404.html;

# redirect server error pages to the static page /50x.html
#
error_page 500 502 503 504 /50x.html;
location = /50x.html {
root /usr/share/nginx/html;
}

}

===============================================================
4.) Install WordPress Apps
Then moving into the next step we will download WordPress apps to run simple blog apps. Simply run the following command and make sure to replace dev.fcgid.com with your actual domain name.
$ cd /var/www/dev.fcgid.com/public/

$ wget https://wordpress.org/latest.tar.gz

$ tar --strip-components=1 -xvf latest.tar.gz

$ chown -R nginx:nginx /var/www/dev.fcgid.com/
5.) Create a Database and Its User
After that use the following command to create a database, db user along with its password.
$ mysql -u root -p
Enter password:
Welcome to the MariaDB monitor. Commands end with ; or \g.
Your MariaDB connection id is 11
Server version: 10.5.13-MariaDB MariaDB Server

Copyright (c) 2000, 2018, Oracle, MariaDB Corporation Ab and others.

Type 'help;' or '\h' for help. Type '\c' to clear the current input statement.

MariaDB [(none)]>

$ CREATE DATABASE dev_web;
Query OK, 1 row affected (0.000 sec)

$ CREATE USER dev_user@localhost;
Query OK, 0 rows affected (0.012 sec)

$ SET PASSWORD FOR dev_user@localhost= PASSWORD("123456789");
Query OK, 0 rows affected (0.005 sec)

$ GRANT ALL PRIVILEGES ON dev_web.* TO dev_user@localhost IDENTIFIED BY '123456789';
Query OK, 0 rows affected (0.001 sec)

$ FLUSH PRIVILEGES;
Query OK, 0 rows affected (0.003 sec)

$ exit
Bye
6.) Restart NGINX Web Server
After that don’t forget to restart PHP-FPM and NGINX web server with the following command.
$ systemctl restart php-fpm

$ systemctl restart nginx
Redirecting to /bin/systemctl restart nginx.service
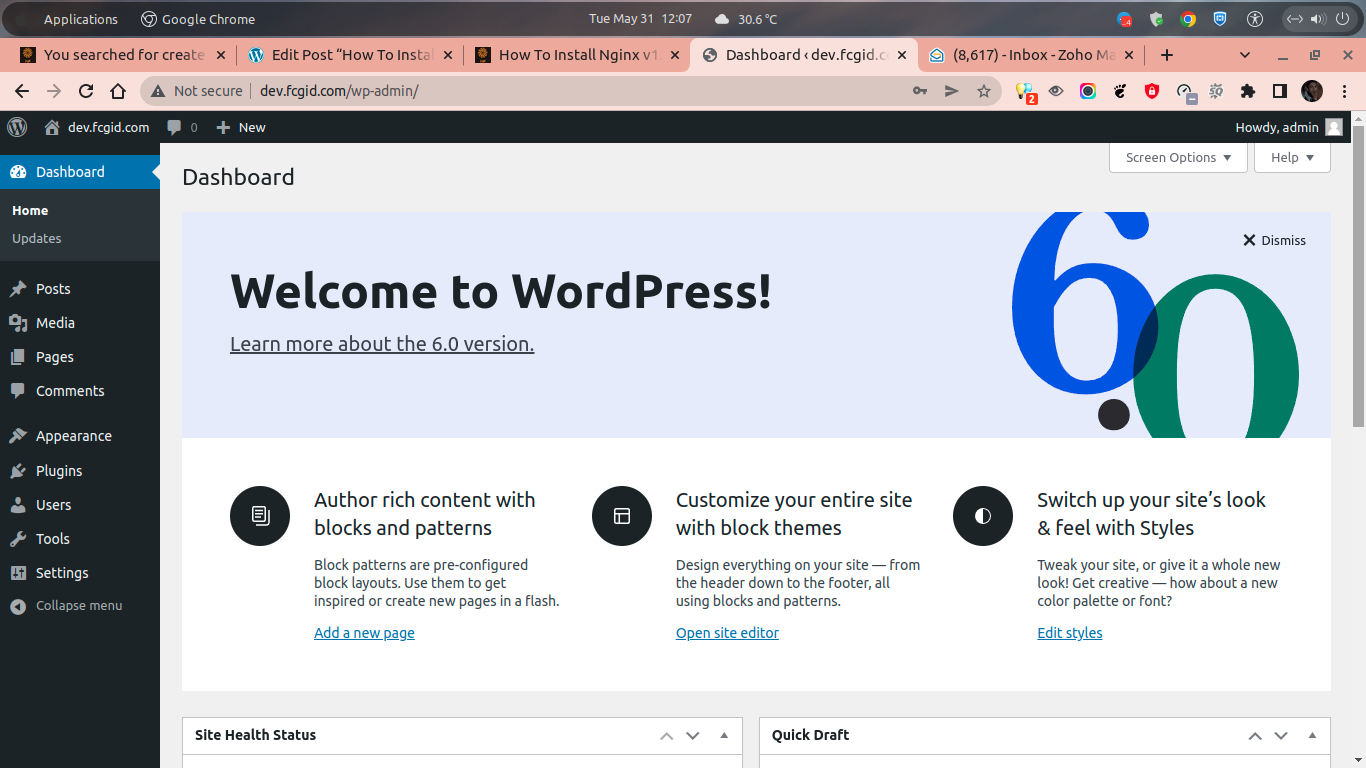
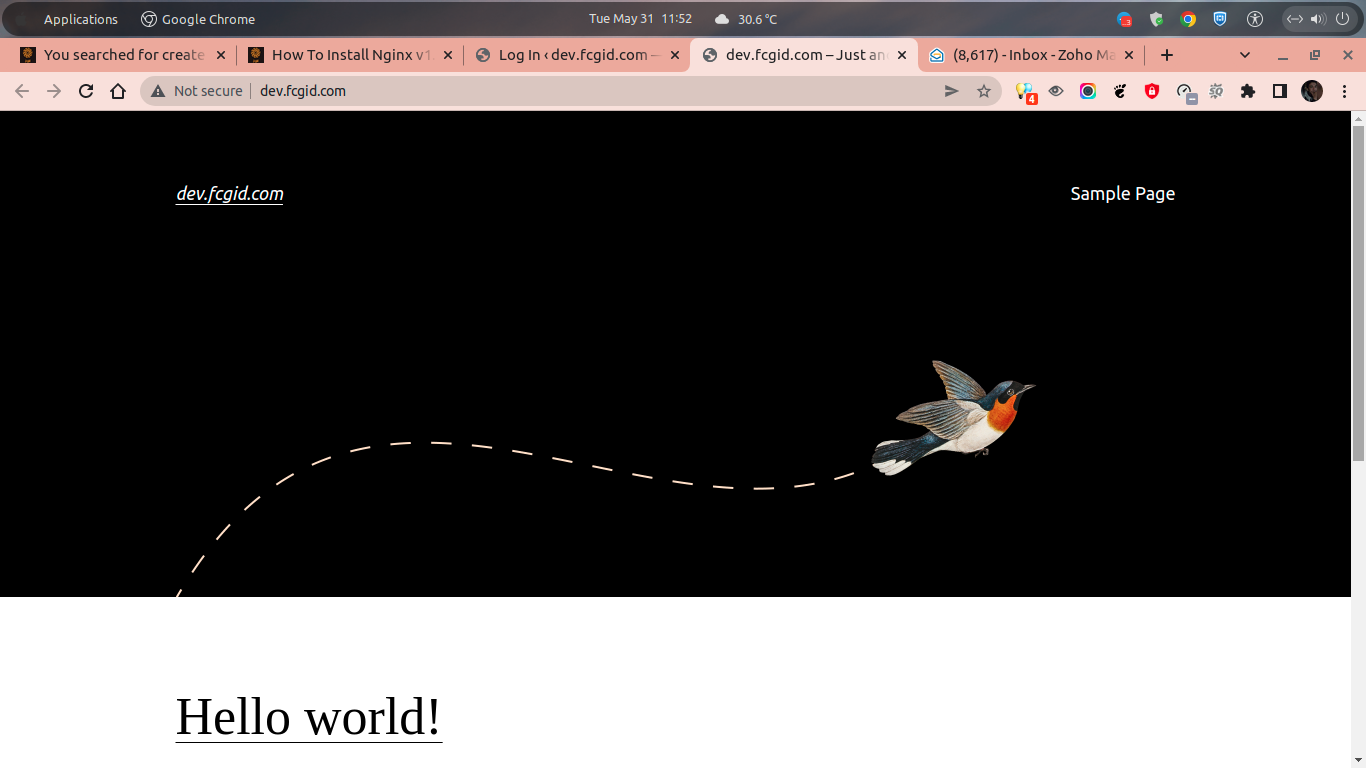
7.) Setting up WordPress Apps via Web Browser
In the last step simply open web browser like Google Chrome or Mozilla Firefox to setting up your WordPress apps. Then you will need to put database credentials like database name, database user along with its password. Then put wp-config.php in the public directory.
$ nano wp-config.php
------------------------------------------------------------------------------------

 /**
* The base configuration for WordPress
*
* The wp-config.php creation script uses this file during the installation.
* You don't have to use the web site, you can copy this file to "wp-config.php"
* and fill in the values.
*
* This file contains the following configurations:
*
* * Database settings
* * Secret keys
* * Database table prefix
* * ABSPATH
*
* @link https://wordpress.org/support/article/editing-wp-config-php/
*
* @package WordPress
*/

// ** Database settings - You can get this info from your web host ** //
/** The name of the database for WordPress */
define( 'DB_NAME', 'dev_web' );

/** Database username */
define( 'DB_USER', 'dev_user' );

/** Database password */
define( 'DB_PASSWORD', '123456789' );

/** Database hostname */
define( 'DB_HOST', 'localhost' );

/** Database charset to use in creating database tables. */
define( 'DB_CHARSET', 'utf8mb4' );

/** The database collate type. Don't change this if in doubt. */
define( 'DB_COLLATE', '' );

/**#@+
* Authentication unique keys and salts.
*
* Change these to different unique phrases! You can generate these using
* the {@link https://api.wordpress.org/secret-key/1.1/salt/ WordPress.org secret-key service}.
*
* You can change these at any point in time to invalidate all existing cookies.
* This will force all users to have to log in again.
*
* @since 2.6.0
*/
define( 'AUTH_KEY', 'R/&C|]OG;8Vxsw2)wg-p' );
define( 'SECURE_AUTH_KEY', '8#K#cpaMY7&!Y$_58<},gan_GEW2imYUCr wO3O5qqXEi+-lM+G-ZBS%Te~<09u}' );
define( 'LOGGED_IN_KEY', 'Mt8muoq}I{Uzp=xA4:0e)V5,b_9DCKHk8`ZEgn;8lNw~h?UR9DfLGf[<i4ti}^L2' );
define( 'NONCE_KEY', 'q.rjo)OZRB6,D68]r(UfVT .+bSH.hZ<=tr@($q:6bl.5-&^31v3J0(jwqPWUBdC' ); define( 'AUTH_SALT', '3fygt&3w(rR00N-#(dmYF}h7*`E_2eQYzR4C7?DfY7/m$h6|paqx*QWUW/kGTrw}' ); define( 'SECURE_AUTH_SALT', 'Lx/Zy4jZ5X`#6=^i^/$g.IwV:O>cmHNS?1@S.*?=oI6e#M~! XE9&]^(I9o,N2s9' );
define( 'LOGGED_IN_SALT', '1}eaS}?oh^WCYb~9evqO5dEieC+C:b~trkGs<:zrzxU+nm?1IJ(K?`m*;v+B>j<$' );
define( 'NONCE_SALT', 'Db:GSEMIP+=V2z;]lEXURxeBe1NC&.!Pl_Aj][P3D&CFc,W&w83&6xW+S03[[IHm' );

/**#@-*/

/**
* WordPress database table prefix.
*
* You can have multiple installations in one database if you give each
* a unique prefix. Only numbers, letters, and underscores please!
*/
$table_prefix = 'wp_';

/**
* For developers: WordPress debugging mode.
*
* Change this to true to enable the display of notices during development.
* It is strongly recommended that plugin and theme developers use WP_DEBUG
* in their development environments.
*
* For information on other constants that can be used for debugging,
* visit the documentation.
*
* @link https://wordpress.org/support/article/debugging-in-wordpress/
*/
define( 'WP_DEBUG', false );

/* Add any custom values between this line and the "stop editing" line. */

/* That's all, stop editing! Happy publishing. */

/** Absolute path to the WordPress directory. */
if ( ! defined( 'ABSPATH' ) ) {
define( 'ABSPATH', __DIR__ . '/' );
}

/** Sets up WordPress vars and included files. */
require_once ABSPATH . 'wp-settings.php';
------------------------------------------------------------------------------------
CONCLUSIONS:
You have successfully in setting up NGINX server block to run simple websites or blog apps under RHEL-based distros, CentOS Stream 9. Later you can host all of your website apps under NGINX web server on CentOS Stream 9.
