

Start your VPS now with FREE $100 credit.
Apache HTTP Server is completely free and open-source cross-platform web server software. Because it’s easy to use and almost compatible with all web application platforms or CMS (Content Management System), making Apache as one of the most popular and most widely used web servers throughout the world.
The most important thing; Apache web server is fully compatible with .htaccess, making it easy to use on almost all CMS. That’s clearly different from Nginx which has special rules on its domain server block, for example the WordPress rewrite rules.
Well, in this tutorial we will guide you how to install and setup Apache 2.4, MariaDB 10.4 and PHP 7.3 (LAMP Stack) on your VPS or dedicated server. We write this guide as easily as possible for you, so you can understand it quickly.
Basically, installing the Apache 2.4 web server on Ubuntu 18.04 LTS is very easy. Here we will setup Apache 2.4 with MPM Prefork and Ruid2 Module, as well as the latest stable version of PHP 7.3. This tutorial will guide you until your website is ready to live.
1. Setup Correct Hostname
First, please check your server’s hostname. Please note that we need to set the correct hostname according to the FQDN (Fully Qualified Domain Name) standard, for example server.node35.com or host.node35.com.
Since the Apache web server is very sensitive with a hostname configuration. If we set an incorrect hostname, it can sometimes prevent Apache from starting properly.
$ hostnameIf you want to set the correct hostname for your Ubuntu 18.04 LTS server, just run the following simple command:
$ hostnamectl set-hostname server.node35.comYou need to replace node35.com with your actual domain name. After that, you can check your new hostname with the following command:
$ hostnamectlThe output will be like this:
root@dev:~# hostnamectl
   Static hostname: server.node35.com
         Icon name: computer-vm
           Chassis: vm
        Machine ID: f1ae1e22e9a44c65bfd4bbcaea3b774f
           Boot ID: 014dff5a60e24988ba8b98cf66af7c1a
    Virtualization: kvm
  Operating System: Ubuntu 18.04.3 LTS
            Kernel: Linux 4.15.0-66-generic
      Architecture: x86-64
root@dev:~#
2. Update Your System
Before moving on to the next step, please make sure to update your Ubuntu server system first.
$ apt-get update
$ apt-get upgrade -y
3. Install Required Packages
Download and install the necessary packages like nano editor, wget, etc.
$ apt-get install nano wget telnet zip unzip screen -y4. Let’s Install and Setup Apache 2.4 Web Server
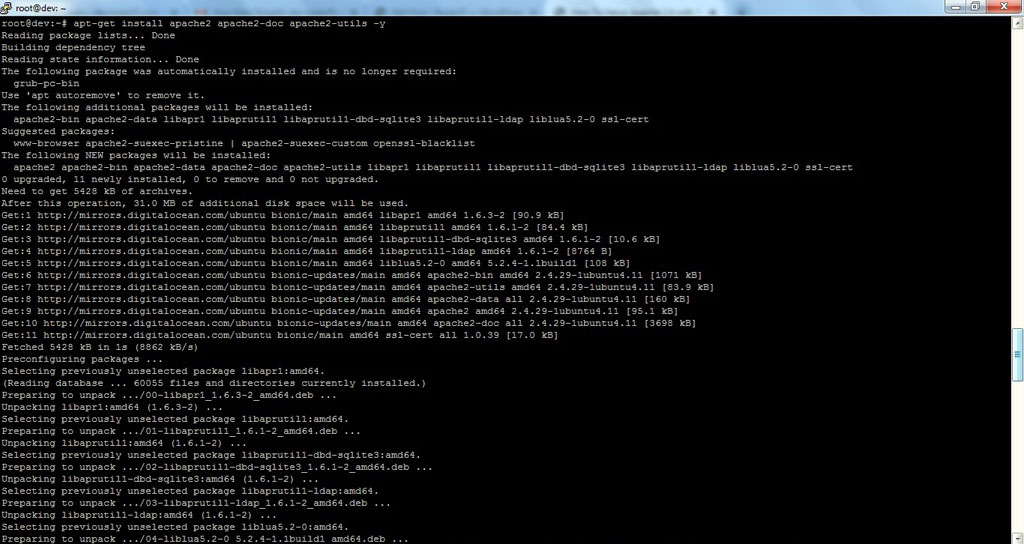
$ apt-get install apache2 apache2-doc apache2-utils -y5. Install and Configure PHP 7.3
After we have Apache 2.4 installed on the Ubuntu 18.04 LTS server, we can move to the next step to install the latest stable version of PHP 7.3.
First of all, install the Software Properties Common if this package is not already installed on your system.

$ apt-get install software-properties-common -yTo install PHP 7.3 on an Ubuntu 18.04 LTS server we need a third-party repository. Well, here we can use PHP 7.3 PPA from Ondřej Surý. Simply run the following command to add this PPA to your system.
$ LC_ALL=C.UTF-8 add-apt-repository ppa:ondrej/php$ apt-get updateNext, let’s install PHP 7.3
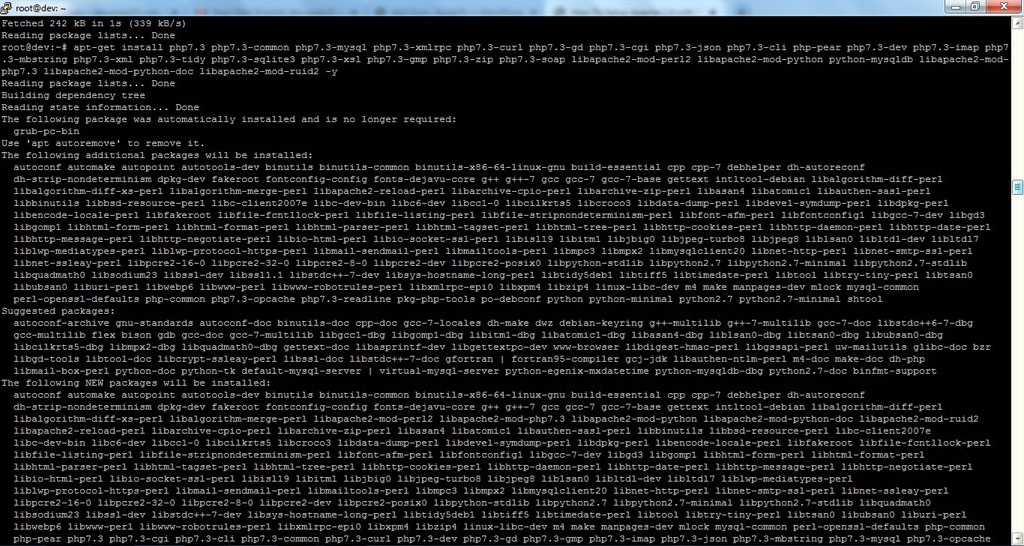
$ apt-get install php7.3 php7.3-common php7.3-mysql php7.3-xmlrpc php7.3-curl php7.3-gd php7.3-cgi php7.3-json php7.3-cli php-pear php7.3-dev php7.3-imap php7.3-mbstring php7.3-xml php7.3-tidy php7.3-sqlite3 php7.3-xsl php7.3-gmp php7.3-zip php7.3-soap libapache2-mod-perl2 libapache2-mod-python python-mysqldb libapache2-mod-php7.3 libapache2-mod-python-doc libapache2-mod-ruid2 -y5. Run Apache 2.4 with MPM Prefork
Now, setup Apache 2.4 web server to run with a MPM Prefork and PHP 7.3, but don’t forget to disable MPM Event first.
$ a2dismod mpm_event
$ a2enmod mpm_prefork
$ a2enmod php7.3
Restart Apache 2.4 Web Server
$ systemctl restart apache26. Disable Default Virtual Hosts
After Apache 2.4 and PHP 7.3 are installed on your Ubuntu server, we need to disable 000-default.conf and default-ssl.conf vhost.
$ a2dissite default-ssl.conf
$ a2dissite 000-default.conf
7. Create Name-based Apache Virtual Hosts for Your Domain
Web need to configure Name-based Apache vHosts for domain, both with HTTP (port 80) and HTTPS connection (port 443) with HTTP/2 support.
We use subdomain dev.node35.com in this guide and Let’s Encrypt SSL Certificate. Here is an example of a simple vhost domain conf in Apache 2.4.
$ nano /etc/apache2/sites-available/dev.node35.com.conf<VirtualHost *:80>
ServerAdmin [email protected]
ServerName dev.node35.com
ServerAlias www.dev.node35.com
DocumentRoot /var/www/dev.node35.com/public/
#ErrorLog /var/www/dev.node35.com/logs/error.log
#CustomLog /var/www/dev.node35.com/logs/access.log combined
<Directory /var/www/dev.node35.com/public/>
Require all granted
</Directory>
<Directory "/var/www/dev.node35.com/public/">
AllowOverride All
</Directory>
#RewriteEngine on
#RewriteCond %{SERVER_NAME} =dev.node35.com [OR]
#RewriteCond %{SERVER_NAME} =www.dev.node35.com
#RewriteRule ^ https://%{SERVER_NAME}%{REQUEST_URI} [END,NE,R=permanent]
</VirtualHost>Configuring Apache2 Virtual Hosts to Make Your Site Run on HTTP/2 Network Protocol.
$ nano /etc/apache2/sites-available/dev.node35.com-le-ssl.conf<IfModule mod_ssl.c>
<VirtualHost *:443>
ServerAdmin [email protected]
ServerName dev.node35.com
ServerAlias www.dev.node35.com
DocumentRoot /var/www/dev.node35.com/public/
#ErrorLog ${APACHE_LOG_DIR}/error.log
#CustomLog ${APACHE_LOG_DIR}/access.log combined
SSLEngine on
SSLCertificateFile /etc/letsencrypt/live/dev.node35.com/fullchain.pem
SSLCertificateKeyFile /etc/letsencrypt/live/dev.node35.com/privkey.pem
Include /etc/letsencrypt/options-ssl-apache.conf
SSLProtocol all -SSLv3 -TLSv1 -TLSv1.1
Protocols h2 http/1.1
<Directory /var/www/dev.node35.com/public/>
Require all granted
</Directory>
<Directory "/var/www/dev.node35.com/public/">
AllowOverride All
</Directory>
</VirtualHost>
</IfModule>8. Setting up Public Directory for WordPress Installation
Next we will create a directory in accordance with the Apache 2.4 virtual host configuration above, including setting up the right public directory path for your site. Here we will use WordPress to build a sample website.
$ mkdir -p /var/www/dev.node35.com/public/
$ mkdir /var/www/dev.node35.com/logs
$ cd /var/www/dev.node35.com/public/
$ wget https://wordpress.org/latest.tar.gz
$ tar --strip-components=1 -xvf latest.tar.gz
$ chown -R www-data:www-data /var/www/dev.node35.com/
Restart Apache2 web server
$ source /etc/apache2/envvars
$ apache2 -S
$ service apache2 restart
9. Enable Name-based Apache vHosts for Domain
For example, here we will activate node35.com.conf and don’t forget to reload Apache2.
$ a2ensite dev.node35.com.conf
$ a2ensite dev.node35.com-le-ssl.conf
$ service apache2 reload
If you want to disable Name-based Apache vHosts for domain next time, simply run the following command:
$ a2dissite dev.node35.com.confPlease note: replace dev.node35.com.conf with your actual domain.com.conf
10. Install and Configure MariaDB 10.4 Database Server
We using the official MariaDB repository to install the most up-to-date version of MariaDB 10.4 database server.
$ apt-key adv --recv-keys --keyserver hkp://keyserver.ubuntu.com:80 0xF1656F24C74CD1D8
$ add-apt-repository 'deb [arch=amd64,arm64,ppc64el] http://mirror.rackspace.com/mariadb/repo/10.4/ubuntu bionic main'
$ apt update
$ apt install mariadb-server -y
After that, let’s securing MariaDB 10.4 installation with the following command.
$ mysql_secure_installationCheck MariaDB version
root@dev:/# mysql -V
mysql Ver 15.1 Distrib 10.4.10-MariaDB, for debian-linux-gnu (x86_64) using readline 5.2
11. Setting up Database Name and User
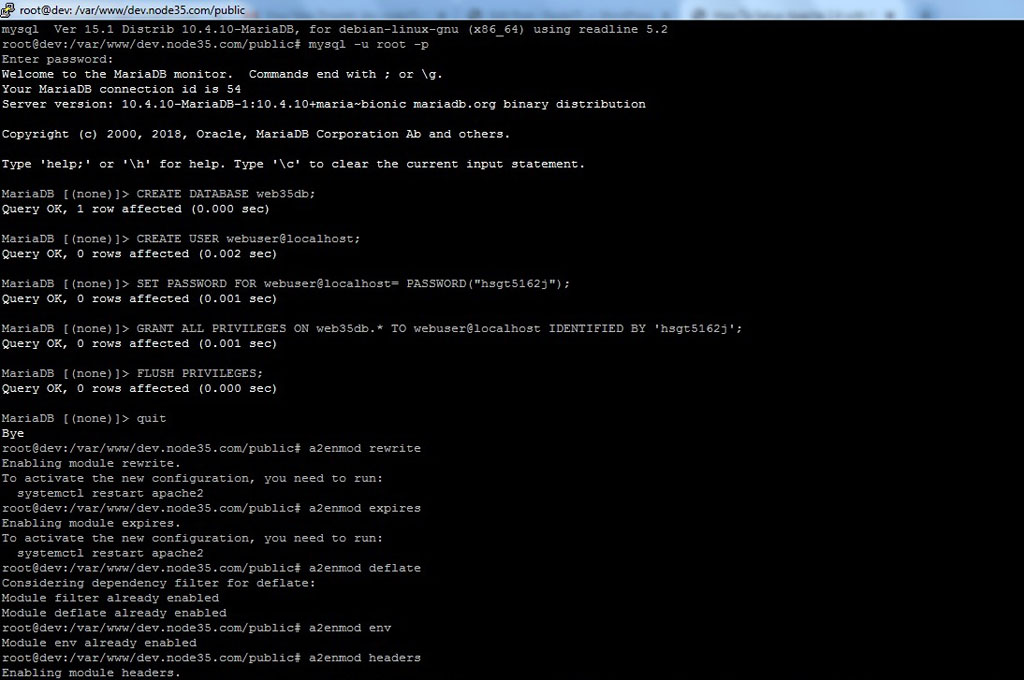
Create a database and users for your WordPress installation.
$ mysql -u root -p
$ CREATE DATABASE web35db;
$ CREATE USER webuser@localhost;
$ SET PASSWORD FOR webuser@localhost= PASSWORD("hsgt5162j");
$ GRANT ALL PRIVILEGES ON web35db.* TO webuser@localhost IDENTIFIED BY 'hsgt5162j';
$ FLUSH PRIVILEGES;
$ quit
12. Enable Important Apache 2.4 Modules
We need to enable some important Apache 2.4 modules to make your site run properly like mod_rewrite, mod_expires and mod_deflate.
$ a2enmod rewrite
$ a2enmod expires
$ a2enmod deflate
$ a2enmod env
$ a2enmod headers
$ a2enmod mime
$ a2enmod setenvif
$ a2enmod suexec
$ a2enmod ldap
$ a2enmod proxy
$ a2enmod userdir
Then restart the Apache2 web server.
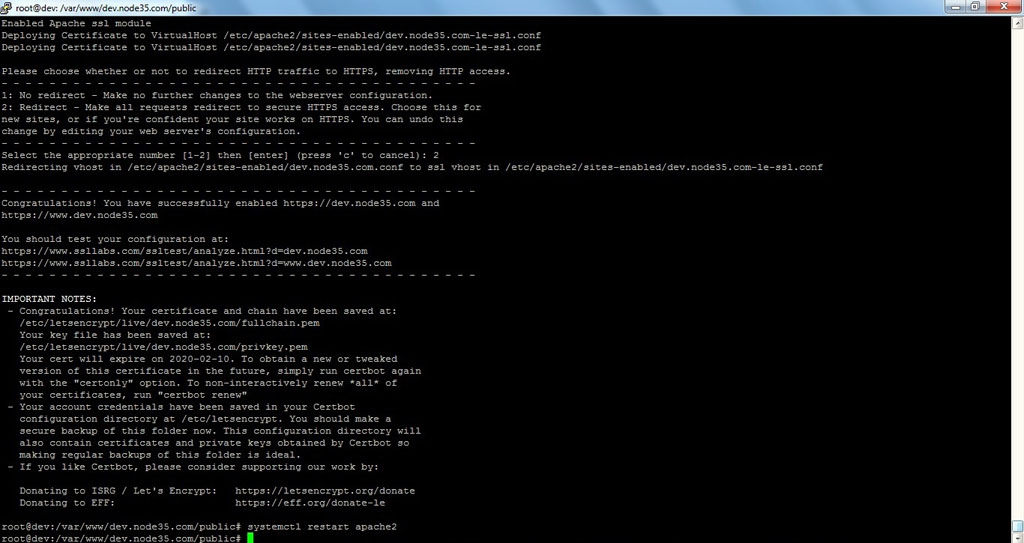
$ systemctl restart apache213. Install & Configure Let’s Encrypt SSL
$ add-apt-repository ppa:certbot/certbot
$ apt install python-certbot-apache -y
$ certbot --apache -d dev.node35.com -d www.dev.node35.com
Restart Apache2
$ systemctl restart apache214 Run WordPress Installation on Your Browser
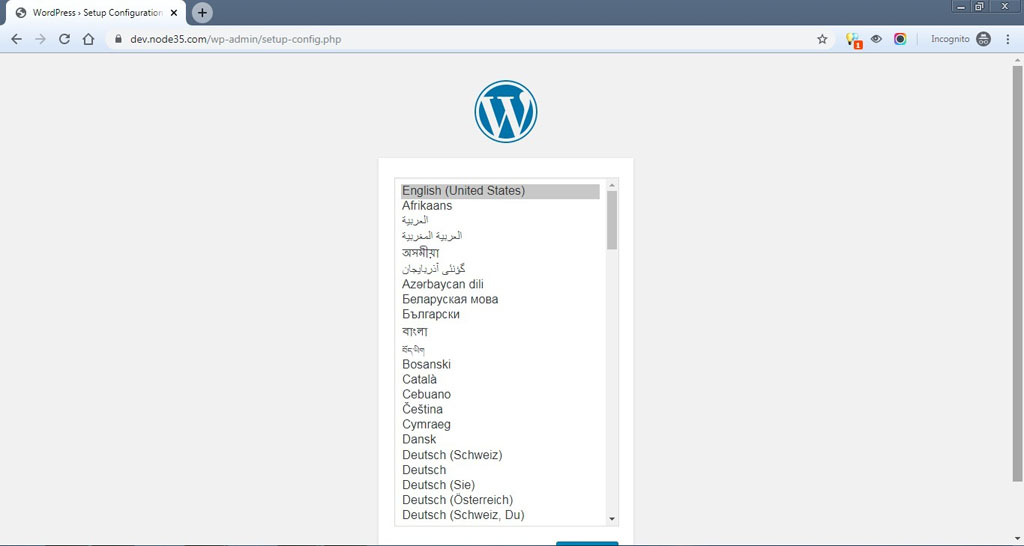
Finally, you can open your browser to continue installing WordPress until it’s finished. See the following screenshoot.
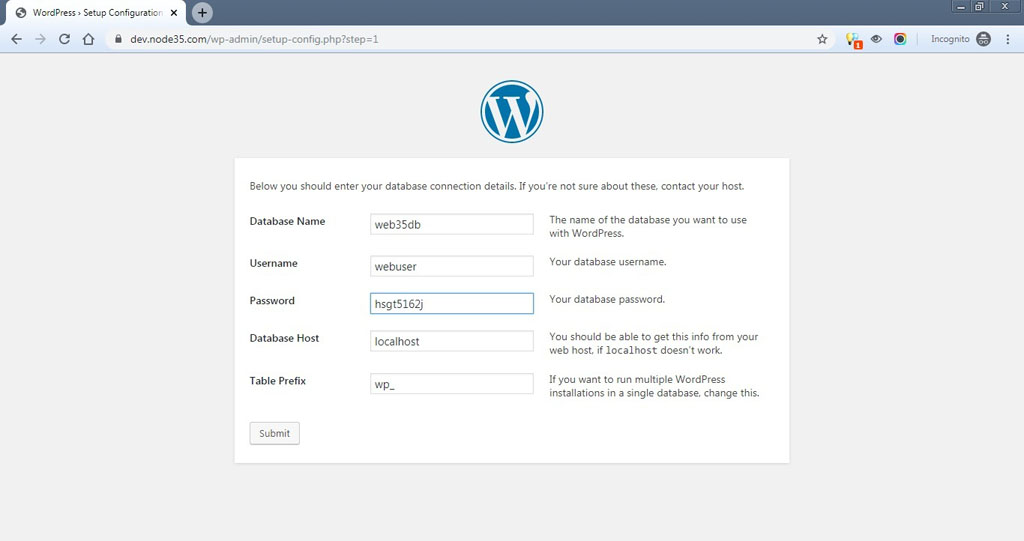
In step-11 above you have created a database name, db user and password via MariaDB CLI. Now you need to input the database name, username and its password in the WordPress installation field and then click submit, like this:
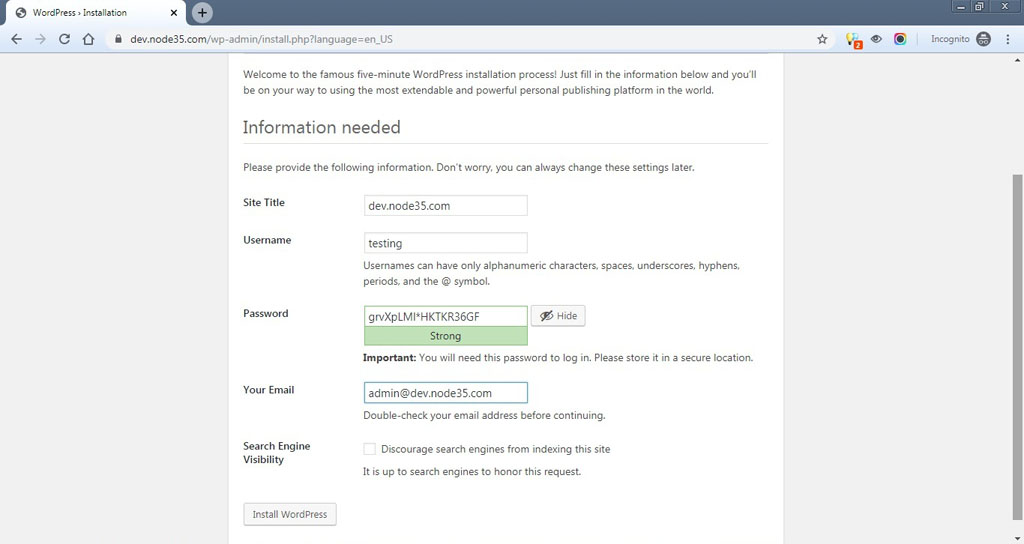
After that, click Run Installation and you must input WordPress Site Title, username, password and your email. And then click install WordPress.
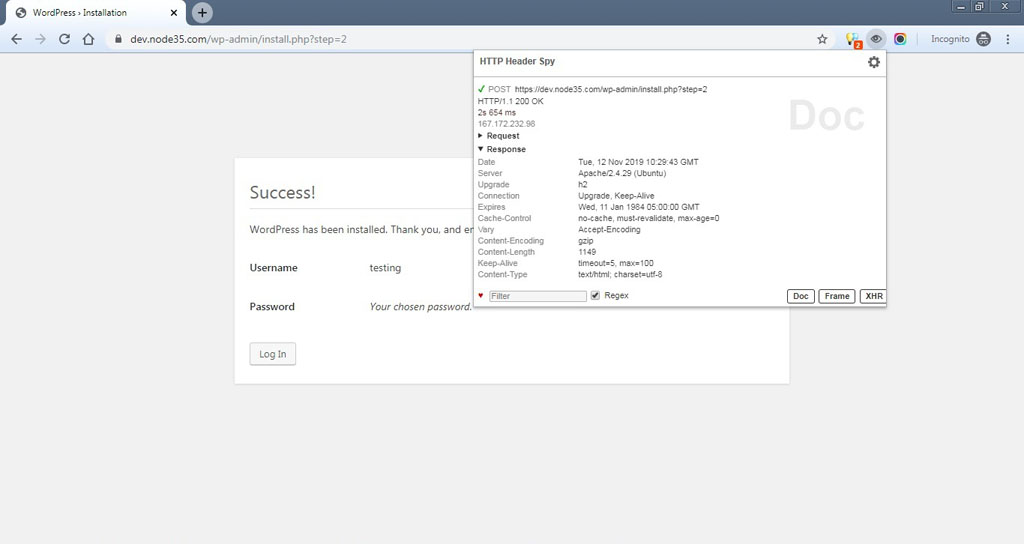
All done, now you have WordPress-based website running on Apache 2.4 web server with PHP 7.3 and MariaDB 10.4 database server.

We are a bunch of people who are still continue to learn Linux servers. Only high passion keeps pushing us to learn everything.