

Start your VPS now with FREE $100 credit.
If you’ve read our previous tutorials, you should understand how to install and setup the LEMP stack on the Ubuntu LTS server.
Installing the LEMP stack on the Ubuntu LTS and CentOS servers is very different.
Well, in this tutorial we will guide you on how to install and setup Nginx, PHP 7.3 with FastCGI Proccess Manager (FPM) and MariaDB 10.4 database server on CentOS 7.7.
We all know that Nginx is a high-performance HTTP server that works well with PHP FastCGI Proccess Manager (PHP-FPM) to handle every PHP process.
What made us fall in love with Nginx is that Nginx can also work as a reverse proxy for Apache (HTTPD) web server. So the .htaccess rule can still be used as usual.
Some control panels that support Nginx as reverse proxy for Apache include cPanel-WHM (we can install Nginx via Engintron plugin), Plesk, VestaCP, Kloxo-MR, Webuzo, and CentOS Web Panel (CWP).
Now, we will now build a super lightweight LEMP stack without a control panel interface on the fresh CentOS 7.7 64-bit system (minimal installation).
So you don’t need to worry even if you have a VPS / Cloud Server with low memory (for example Cloud server with 1GB RAM), you can still run Nginx under low memory VPS.
Let’s follow this guide to setup LEMP stack on your CentOS 7.7 server.
1. Update System and Software Packages
$ yum update -y
$ yum install yum-utils nano wget telnet screen zip unzip -y
2. Add Official Nginx Repository for RHEL/CentOS
In order to install Nginx on CentOS 7, we need to add the official Nginx repository to our system. Simply create the nginx.repo file under the /etc/yum.repos.d/ directory.
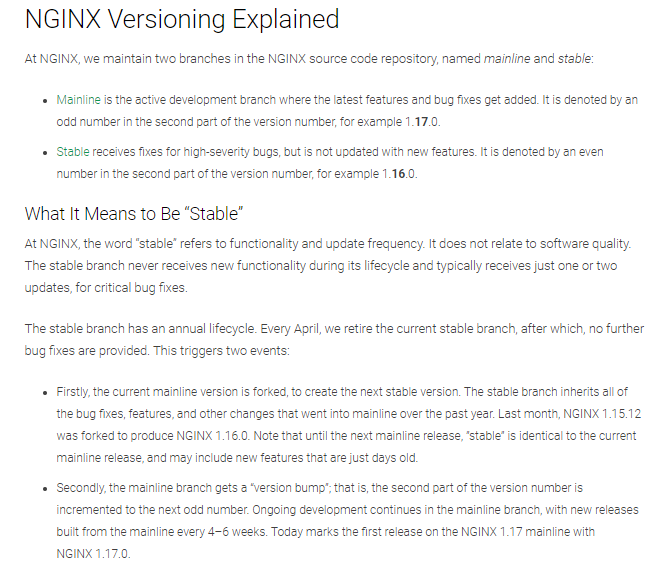
We can choose to use the Nginx Stable or Mainline package, depending on your choice.
However, the Nginx stable package will be used by default in the installation process, so Nginx mainline is only optional.
$ nano /etc/yum.repos.d/nginx.repoNginx Stable Branch
[nginx-stable]
name=nginx stable repo
baseurl=http://nginx.org/packages/centos/$releasever/$basearch/
gpgcheck=1
enabled=1
gpgkey=https://nginx.org/keys/nginx_signing.key
module_hotfixes=true
Nginx Mainline Branch
[nginx-mainline]
name=nginx mainline repo
baseurl=http://nginx.org/packages/mainline/centos/$releasever/$basearch/
gpgcheck=1
enabled=0
gpgkey=https://nginx.org/keys/nginx_signing.key
module_hotfixes=true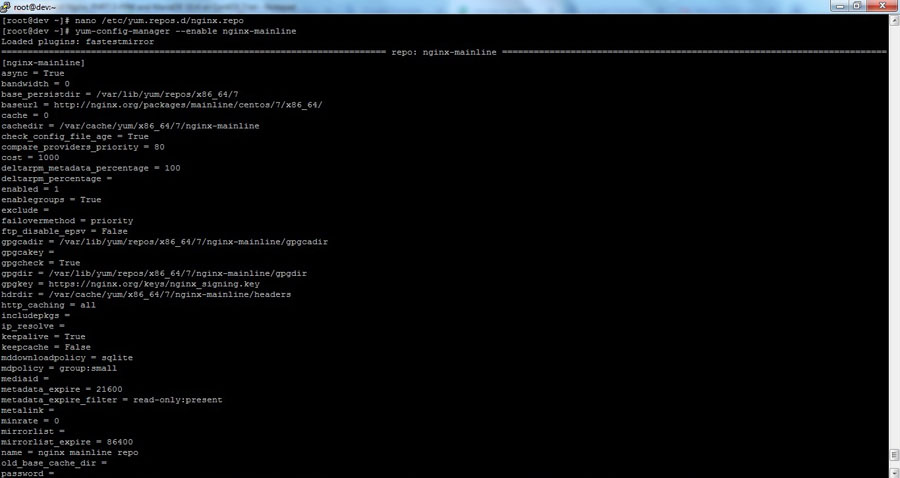
3. Let’s Install Nginx
Please note that we will install the Nginx mainline branch in this tutorial. Therefore, if you want to install the Nginx stable package, you don’t need to run the yum-config-manager --enable nginx-mainline command.
Or in other words, simply run the yum install nginx command to install the Nginx stable package.
$ yum-config-manager --enable nginx-mainline
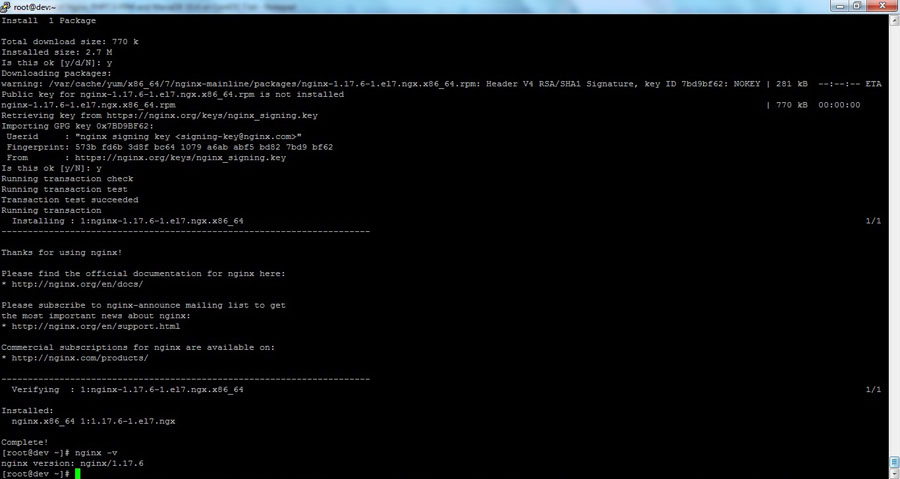
$ yum install nginxStart Nginx Web Server
$ service nginx start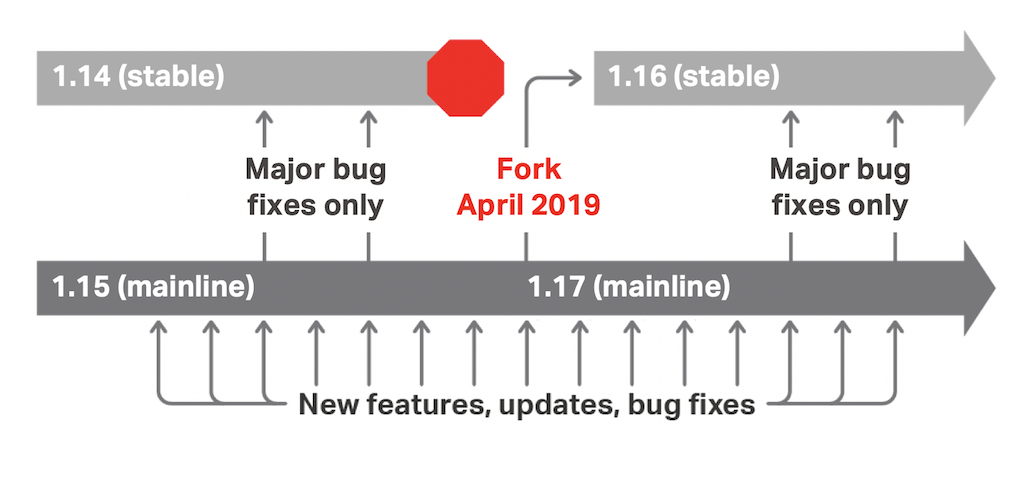
4. Install and Configure PHP 7.3 with FastCGI Process Manager
If you have read our previous guide you should know how to install PHP 7.3 on CentOS 7.
Here we will install the most-up-to-date version of PHP 7.3 via the REMI and EPEL repositories.
$ wget https://dl.fedoraproject.org/pub/epel/epel-release-latest-7.noarch.rpm
$ wget http://rpms.remirepo.net/enterprise/remi-release-7.rpm
$ rpm -Uvh remi-release-7.rpm epel-release-latest-7.noarch.rpm
$ yum --enablerepo=remi update remi-release
After we’ve successfully added the EPEL and Remi repositories to the CentOS 7 system, simply run the following command to install PHP 7.3 with FastCGI Proccess Manager (FPM).
$ yum --enablerepo=remi-php73 install php73-php php73-php-pear php73-php-bcmath php73-php-pecl-jsond-devel php73-php-mysqlnd php73-php-gd php73-php-common php73-php-fpm php73-php-intl php73-php-cli php73-php php73-php-xml php73-php-opcache php73-php-pecl-apcu php73-php-pecl-jsond php73-php-pdo php73-php-gmp php73-php-process php73-php-pecl-imagick php73-php-devel php73-php-soap php73-php-mcrypt php-mcrypt php-soap php73-php-mbstring memcached php73-php-pecl-memcached php73-php-pecl-memcache php-redis redis php73-php-redis php71-php-zip php71-php-pspell php-brotliCreate Symbolic Link for PHP 7.3
$ rm -f /usr/bin/php
$ ln -s /usr/bin/php73 /usr/bin/php
Remove Old PHP-FPM Systemd Service File and Link to New One
$ rm -f /usr/lib/systemd/system/php-fpm.service
$ ln -s /usr/lib/systemd/system/php73-php-fpm.service /usr/lib/systemd/system/php-fpm.service
Reload Systemd Manager Configuration
$ systemctl daemon-reloadAfter that we need to edit php.ini files and uncomment session.save_handler and session.save_path
$ nano /etc/php.ini
$ nano /etc/opt/remi/php73/php.ini
You need to uncomment like this.
$ session.save_handler = files
$ session.save_path = /var/lib/php/session
$ soap.wsdl_cache_dir = /var/lib/php/wsdlcache
Set correct permission for PHP session directory
$ mkdir -p /var/lib/php/session/
$ chmod 777 /var/lib/php/session/
Check PHP Version
[root@dev /]# php -v
PHP 7.3.12 (cli) (built: Nov 19 2019 10:24:51) ( NTS )
Copyright (c) 1997-2018 The PHP Group
Zend Engine v3.3.12, Copyright (c) 1998-2018 Zend Technologies
with Zend OPcache v7.3.12, Copyright (c) 1999-2018, by Zend Technologies
Start PHP-FPM Service
$ service php-fpm start5. Install MariaDB 10.4 Database Server
In order to install latest stable version of MariaDB 10.4 database server on CentOS 7, simply create a file called MariaDB.repo under /etc/yum.repos.d/ directory and paste the following MariaDB 10.4 YUM repository.
$ nano /etc/yum.repos.d/MariaDB.repo# MariaDB 10.4 CentOS repository list - created 2019-11-20 19:54 UTC
# http://downloads.mariadb.org/mariadb/repositories/
[mariadb]
name = MariaDB
baseurl = http://yum.mariadb.org/10.4/centos7-amd64
gpgkey=https://yum.mariadb.org/RPM-GPG-KEY-MariaDB
gpgcheck=1Let’s Install MariaDB v10.4
$ yum install MariaDB-server MariaDB-client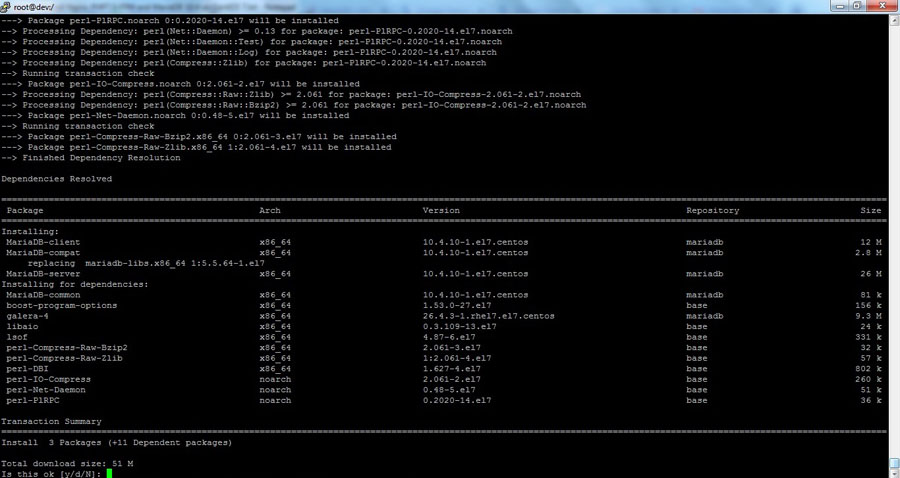
Start MariaDB 10.4 Database Server
$ chkconfig mariadb on
$ service mariadb start
After that, we need to make sure to secure our MariaDB 10.4 installation. Run the following command:
$ mysql_secure_installationSwitch to unix_socket authentication [Y/n] n
... skipping.
Since we haven't set the root password during MariaDB 10.4 installation, so we must answer y.
Change the root password? [Y/n] y
New password:
Re-enter new password:
Password updated successfully!
Reloading privilege tables..
... Success!
Remove anonymous users? [Y/n] y
... Success!
Disallow root login remotely? [Y/n] y
... Success!
Remove test database and access to it? [Y/n] y
- Dropping test database...
... Success!
- Removing privileges on test database...
... Success!
Reload privilege tables now? [Y/n] y
... Success!
Cleaning up...
Thanks for using MariaDB!
[root@dev /]#Check MariaDB Version
$ mysql -V
mysql Ver 15.1 Distrib 10.4.10-MariaDB, for Linux (x86_64) using readline 5.1
6. Let’s Create Nginx Server Block and Install WordPress
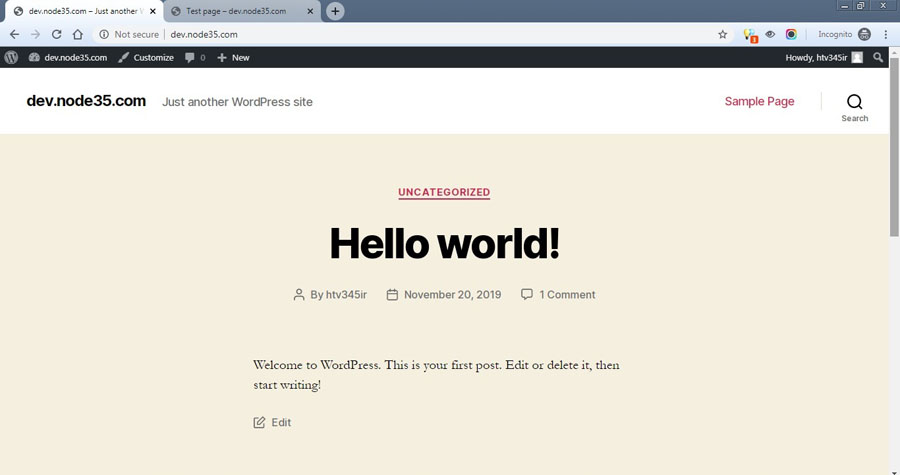
Next, we need to test our LEMP stack by installing WordPress on dev.node35.com. Please make sure to replace dev.node35.com with your actual domain name. Because in this tutorial we use dev.node35.com as a development site.
First of all, create public folder a.k.a document root for dev.node35.com, download WordPress, and set correct ownership for file and folders.
$ mkdir -p /var/www/dev.node35.com/public/ /var/www/dev.node35.com/logs/
$ cd /var/www/dev.node35.com/public/
$ wget https://wordpress.org/latest.tar.gz
$ tar --strip-components=1 -xvf latest.tar.gz
$ chown -R apache:apache /var/www/dev.node35.com/
Now let’s setup a server block (virtual host) for dev.node35.com
$ nano /etc/nginx/conf.d/dev.node35.confserver {
listen 80; ## listen for ipv4;
#listen [::]:80 default ipv6only=on;
root /var/www/dev.node35.com/public/;
index index.php index.html;
# Make site accessible from public
server_name dev.node35.com www.dev.node35.com;
access_log /var/log/nginx/dev.node35.com.access.log;
error_log /var/log/nginx/dev.node35.com.error.log;
location / {
try_files $uri $uri/ /index.php?$args;
}
location ~ \.php$ {
try_files $uri =404;
fastcgi_pass 127.0.0.1:9000;
fastcgi_param SCRIPT_FILENAME $document_root$fastcgi_script_name;
include fastcgi_params;
fastcgi_index index.php;
fastcgi_param HTTP_PROXY "";
#include fastcgi.conf;
# fastcgi_intercept_errors on;
}
# Static Cache Config
location ~* ^.+\.(ogg|ogv|svg|svgz|eot|otf|woff|mp4|ttf|rss|atom|jpg|jpeg|gif|png|ico|css|js|zip|tgz|gz|rar|bz2|doc|xls|exe|ppt|tar|mid|midi|wav|bmp|rtf)$ {
access_log off; log_not_found off; expires 360d;
add_header Access-Control-Allow-Origin "*";
}
location = /robots.txt { access_log off; log_not_found off; }
location ~ /\. { deny all; access_log off; log_not_found off; }
# Rewrite for Google XML Sitemap
rewrite ^/sitemap(-+([a-zA-Z0-9_-]+))?\.xml$ "/index.php?xml_sitemap=params=$2" last;
rewrite ^/sitemap(-+([a-zA-Z0-9_-]+))?\.xml\.gz$ "/index.php?xml_sitemap=params=$2;zip=true" last;
rewrite ^/sitemap(-+([a-zA-Z0-9_-]+))?\.html$ "/index.php?xml_sitemap=params=$2;html=true" last;
rewrite ^/sitemap(-+([a-zA-Z0-9_-]+))?\.html.gz$ "/index.php?xml_sitemap=params=$2;html=true;zip=true" last;
error_page 404 /404.html;
# redirect server error pages to the static page /50x.html
#
error_page 500 502 503 504 /50x.html;
location = /50x.html {
root /usr/share/nginx/html;
}
}Create Database and Users for WordPress
$ mysql -u root -p
$ CREATE DATABASE d_node35;
$ CREATE USER u_node35@localhost;
$ SET PASSWORD FOR u_node35@localhost= PASSWORD("hdGTas235xi7");
$ GRANT ALL PRIVILEGES ON d_node35.* TO u_node35@localhost IDENTIFIED BY 'hdGTas235xi7';
$ FLUSH PRIVILEGES;
$ quit
Restart Nginx Web Server and PHP-FPM Service
$ service nginx restart
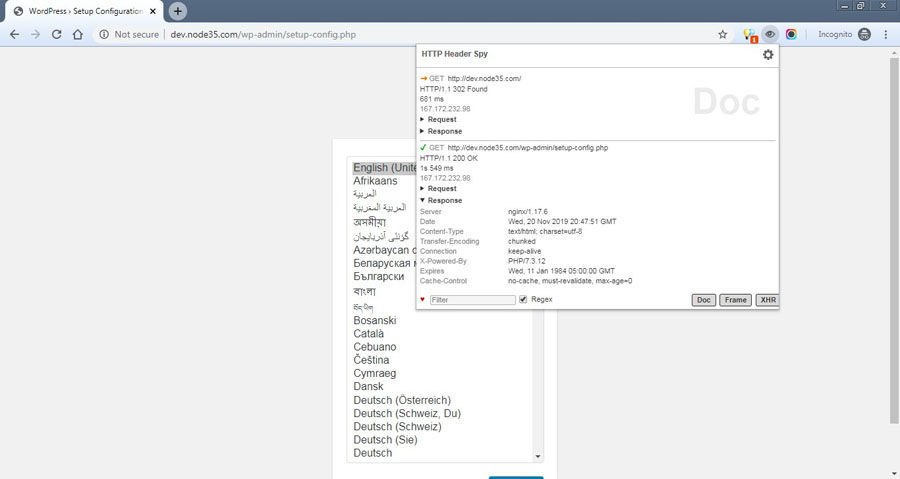
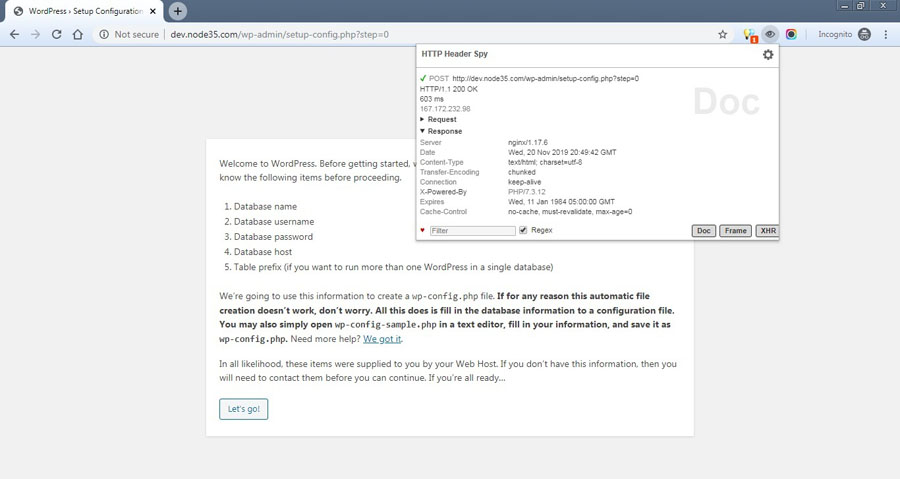
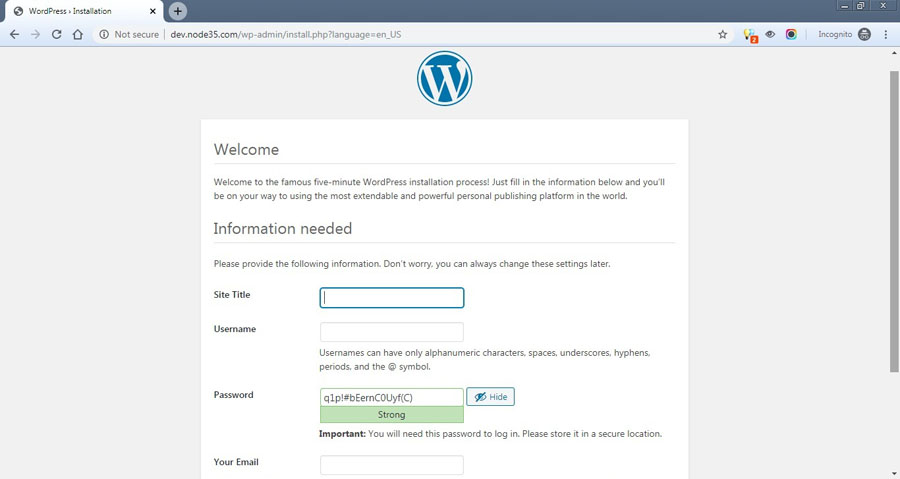
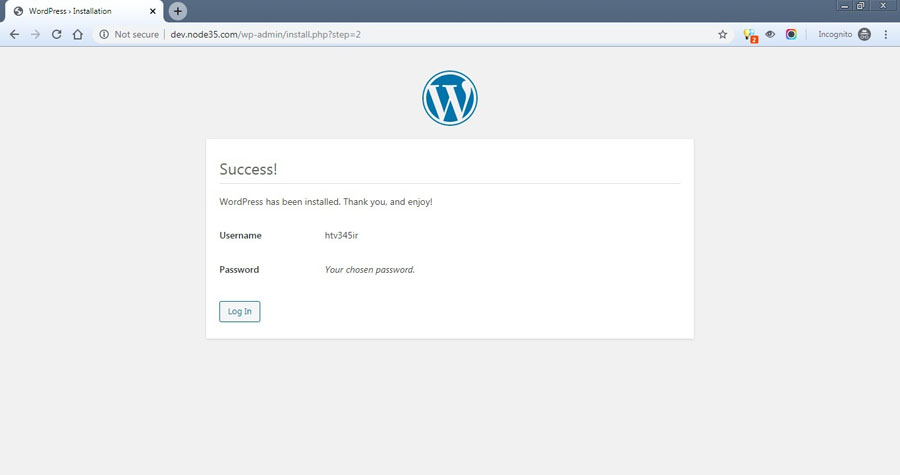
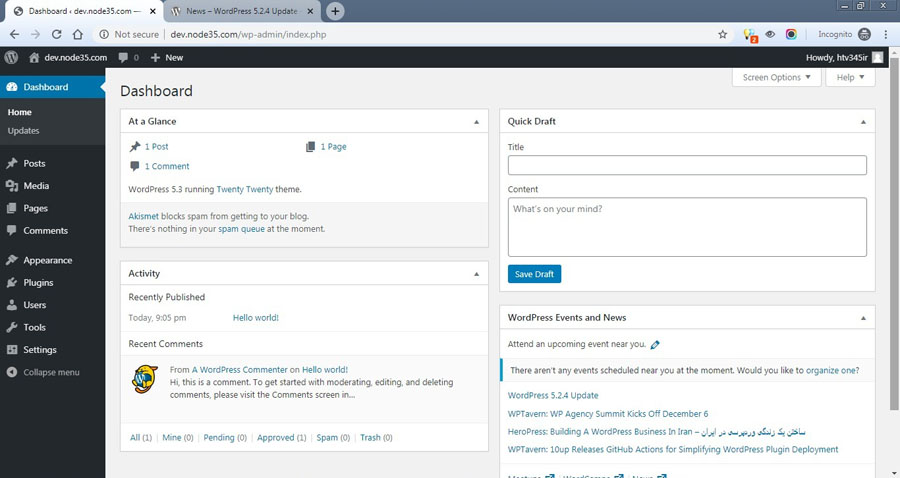
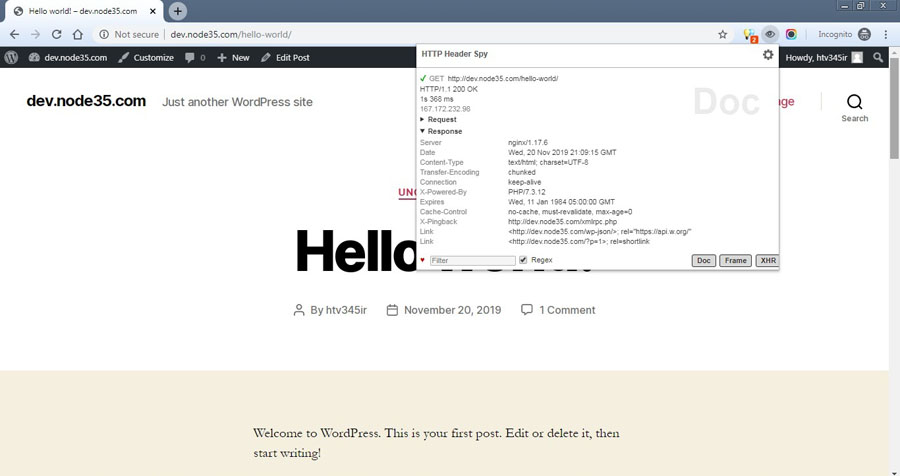
$ service php-fpm restartFinally, we need to open the WordPress installation page in the web browser to complete the WP installation step by step. Open your domain name in web browser, after that input database name, username, and password on WP database connection column. See the following screenshot for more details.

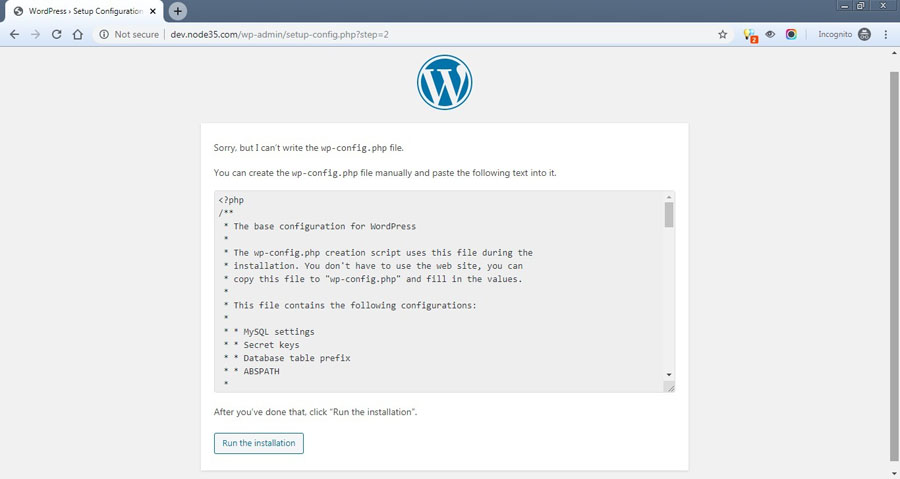
Don’t panic if you see error message “Sorry, but I can’t write the wp-config.php file.” Simply create a wp-config.php file manually and then you need to paste the database connection configuration for the wp-config.php file that you see below the error message. After that, click “Run the installation”.

We are a bunch of people who are still continue to learn Linux servers. Only high passion keeps pushing us to learn everything.