
Start your VPS now with FREE $100 credit.
phpMyAdmin is a free open-source software (FOSS) written in PHP Hypertext Preprocessor with the main function to handle and manage database administration, either it running with MySQL or MariaDB database server. It comes with comprehensive graphical user interface (GUI) which is mostly usefull to manage database over the public web browser.
You can use phpMyAdmin to work on database administration operations side, including manage or create databases, add/drop tables, columns, relations, indexes, add/delete users, permissions and much more. You can done it via GUI, both with administrative MySQL root account or regular users. And you can execute all SQL statement or SQL query with phpMyAdmin.
phpMyAdmin are available on 72 languages and it’s FLOSS projects (Free, Libre, and Open Source Software) actively developed and maintenanced by not-profit organization, Software Freedom Conservancy (SFC). Let’s follow this guide to setting up phpMyAdmin on Nginx web server under Debian 11 (bullseye) inside Alibaba Elastic Compute Engine.
PREREQUITES:
* VPS / Cloud Server / Bare-Metal
* Superuser Privileges (Root Access)
* Running with Distro Debian 11 (bullseye)
* Sever IPv4 Address
* Gnome Terminal for Linux Desktop
* PuTTY SSH Client for Windows / Mac
1.) Login to Your Virtual Machine and Then Run Software Updater.
$ ssh [email protected] -p22
Password:
$ apt update2.) Install phpMyAdmin with the Official Debian Software Repository.
Simply run the following command to install phpMyAdmin on your Elastic Compute Service.
$ apt install phpmyadmin -yReading package lists... Done Building dependency tree... Done Reading state information... Done The following package was automatically installed and is no longer required: linux-image-5.10.0-10-amd64 Use 'apt autoremove' to remove it. The following additional packages will be installed: dbconfig-common dbconfig-mysql icc-profiles-free libjs-bootstrap4 libjs-codemirror libjs-jquery-mousewheel libjs-jquery-timepicker libjs-jquery-ui libjs-openlayers libjs-popper.js libjs-sizzle libmcrypt4 node-jquery php-bz2 php-google-recaptcha php-mariadb-mysql-kbs php-mcrypt php-mysql php-phpmyadmin-motranslator php-phpmyadmin-shapefile php-phpmyadmin-sql-parser php-phpseclib php-psr-cache php-psr-container php-psr-log php-symfony-cache php-symfony-cache-contracts php-symfony-config php-symfony-dependency-injection php-symfony-expression-language php-symfony-filesystem php-symfony-service-contracts php-symfony-var-exporter php-symfony-yaml php-tcpdf php-twig php-twig-i18n-extension php8.1-bz2 php8.1-mcrypt Suggested packages: libjs-requirejs libjs-jquery-ui-docs libmcrypt-dev mcrypt php-dbase php-libsodium php-symfony-finder php-symfony-proxy-manager-bridge php-symfony-console php-imagick php-twig-doc php-recode www-browser php-gd2 php-pragmarx-google2fa-qrcode php-samyoul-u2f-php-server The following NEW packages will be installed: dbconfig-common dbconfig-mysql icc-profiles-free libjs-bootstrap4 libjs-codemirror libjs-jquery-mousewheel libjs-jquery-timepicker libjs-jquery-ui libjs-openlayers libjs-popper.js libjs-sizzle libmcrypt4 node-jquery php-bz2 php-google-recaptcha php-mariadb-mysql-kbs php-mcrypt php-mysql php-phpmyadmin-motranslator php-phpmyadmin-shapefile php-phpmyadmin-sql-parser php-phpseclib php-psr-cache php-psr-container php-psr-log php-symfony-cache php-symfony-cache-contracts php-symfony-config php-symfony-dependency-injection php-symfony-expression-language php-symfony-filesystem php-symfony-service-contracts php-symfony-var-exporter php-symfony-yaml php-tcpdf php-twig php-twig-i18n-extension php8.1-bz2 php8.1-mcrypt phpmyadmin 0 upgraded, 40 newly installed, 0 to remove and 5 not upgraded. Need to get 18.2 MB of archives. After this operation, 86.9 MB of additional disk space will be used. Do you want to continue? [Y/n] y
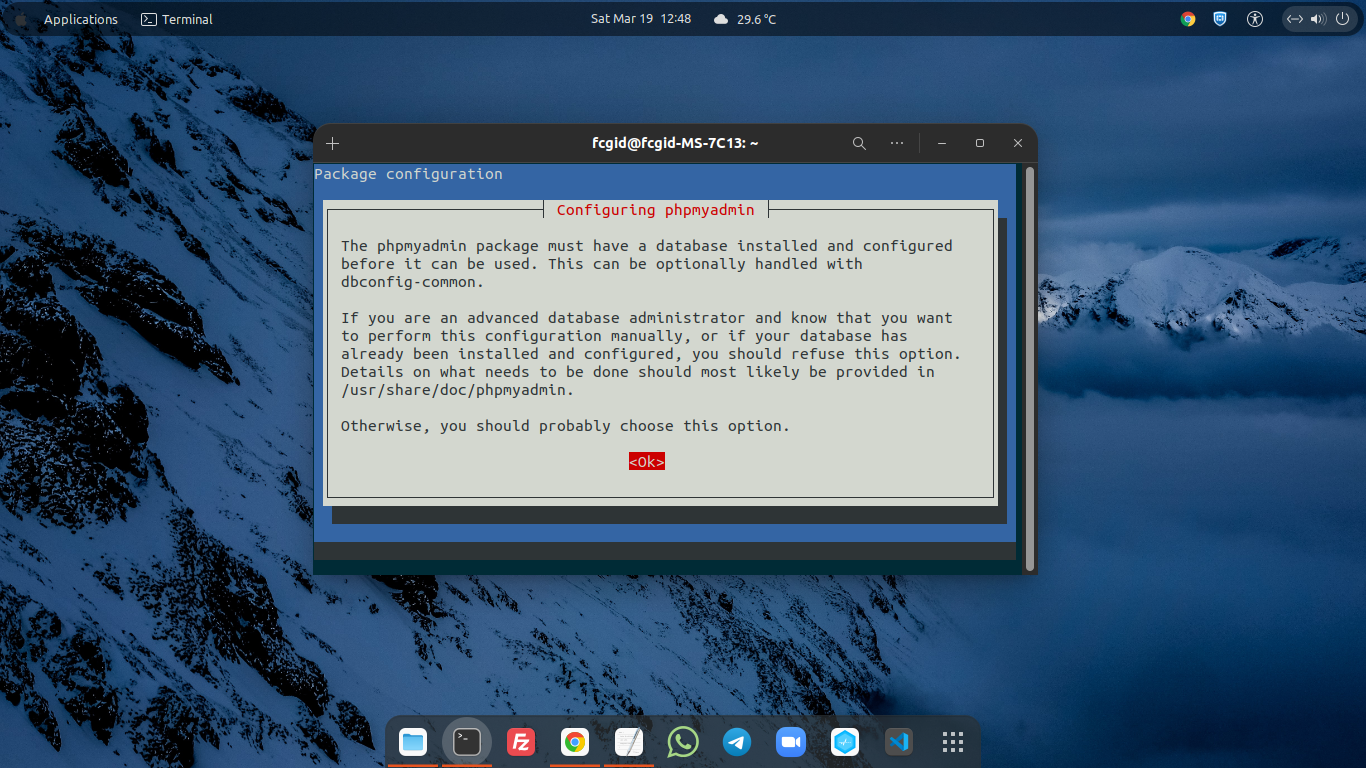
3.) Next, You Need to Configuring phpMyAdmin on Your Machine.
You should select apache, instead of lighttpd. Then don’t forget to input correct MySQL administrative account password (Root Password) during the installation progress. You need to file the MySQL/MariaDB root password on columns of “MySQL application password for phpmyadmin:”
4.) Create a Symbolic Link or Symlink.
You need create symbolic Link or symlink between phpMyAdmin and your website document root or public directory or main folder of index.html page.
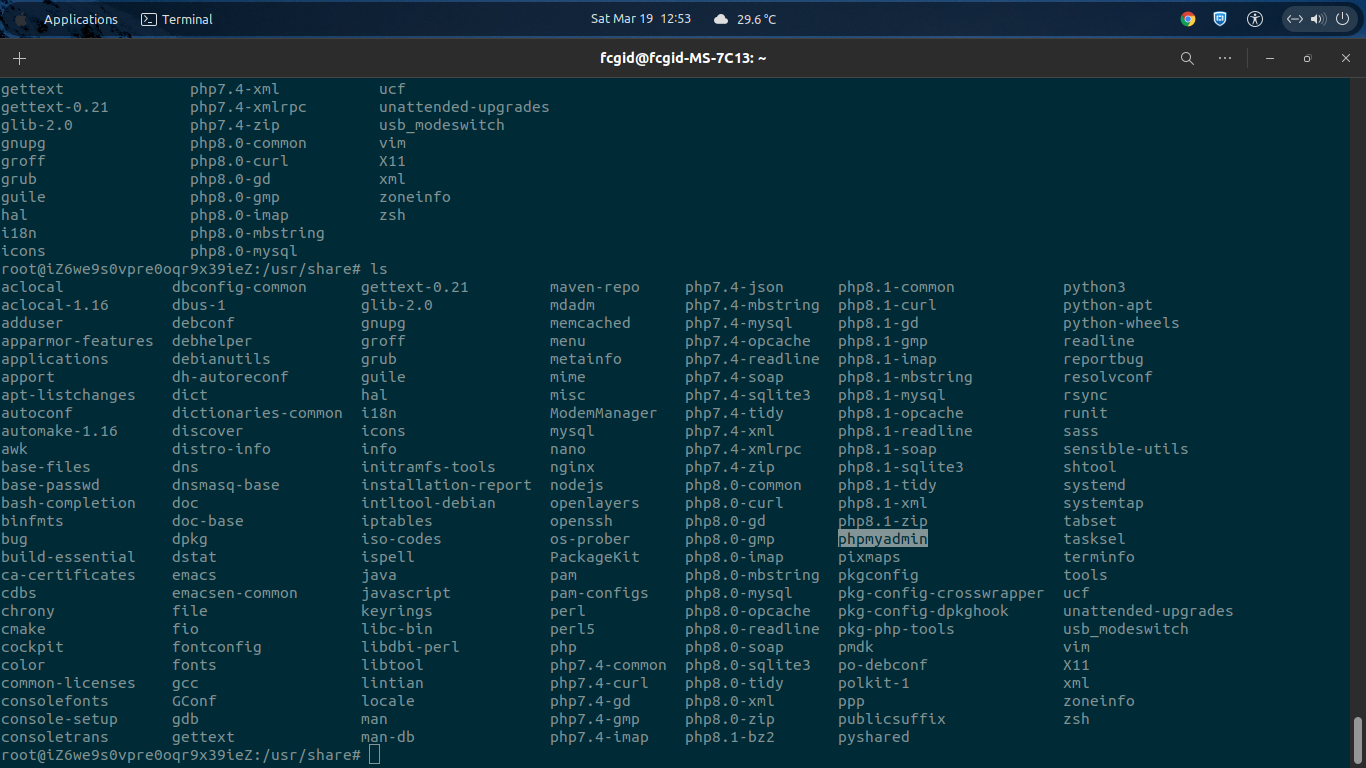
The phpmyadmin directory is placed under /usr/share/ folder, while the document root is located on directory of /usr/share/nginx/html.
So, you need to symlink it with the following command.
$ ln -s /usr/share/phpmyadmin/ /var/www/html5.) Edit Nginx Default Serverblock with the Following Rule.
After that you need to adjust the following Nginx serverblock with these configurations. You must set or change the server_name directive from the “server_name _;” to your server IPv4 address, eg “server_name localhost;”, “server_name 8.216.32.6 localhost;” or “server_name 8.216.32.6 localhost;”.
Make sure to create copy a file of default.conf inside cd /etc/nginx/sites-available/, so you will have a copy file of default.conf.
$ cd /etc/nginx/sites-available/
$ ls
default
$ cp -R default default.fallback
$ rm -rf default
** Edit Default Nginx ServerBlock for phpMyAdmin
———————————————————
$ nano /etc/nginx/sites-available/default
---------------------------------------------------------
# Simply copy and paste the following serverblock codes into your "/etc/nginx/sites-available/default" # Default server configuration by FCGID.com # server { listen 80 default_server; listen [::]:80 default_server; root /var/www/html; # Add index.php to the list if you are using PHP index index.php index.html index.htm index.nginx-debian.html; server_name 8.216.32.6 localhost; #location / { # First attempt to serve request as file, then # as directory, then fall back to displaying a 404. # try_files $uri $uri/ =404; #} location / { try_files $uri $uri/ /index.php?$args ; } # pass PHP scripts to FastCGI server # location ~ \.php$ { location ~ \.php$ { include snippets/fastcgi-php.conf; include fastcgi_params; include fastcgi.conf; fastcgi_param HTTP_PROXY ""; fastcgi_pass 127.0.0.1:9000; ## don't forget to adjust it with the TCP-socket on PHP-FPM "www.conf" under directory /etc/php/7.4/fpm/pool.d/ } } } ---------------------------------------------------------
6.) Adjust Socket Connection to Accept FastCGI Requests on PHP-FPM www.conf
Also don’t forget to adjust socket connection to accept FastCGI requests with the TCP-socket on PHP-FPM “www.conf” under directory /etc/php/7.4/fpm/pool.d/ , instead of using Unix-socket connection. The following is example of snippet code.
")
---------------------------------------------------------

; The address on which to accept FastCGI requests.
; Valid syntaxes are:
; 'ip.add.re.ss:port' - to listen on a TCP socket to a specific IPv4 address on
; a specific port;
; '[ip:6:addr:ess]:port' - to listen on a TCP socket to a specific IPv6 address on
; a specific port;
; 'port' - to listen on a TCP socket to all addresses
; (IPv6 and IPv4-mapped) on a specific port;
; '/path/to/unix/socket' - to listen on a unix socket.
; Note: This value is mandatory.
; listen = /run/php/php7.4-fpm.sock
listen = 127.0.0.1:9000
---------------------------------------------------------
7.) Create a symlink for the default Nginx serverblock from sites-available to sites-enabled directory which you have been edit previously.
$ ln -s /etc/nginx/sites-available/default/ /etc/nginx/sites-enabled/
8.) Restart Nginx and PHP-FPM (FastCGI Proccess Manager)
Make sure to replace the version number (eg, 7.4, 8.0, 8.1) with the actual PHP version which used on your system. To restart NGINX and php7.4-fpm service kindly run the following commands.
-------------------------------------------------------
$ service nginx restart
$ service php7.4-fpm restart
-------------------------------------------------------
9.) Open phpMyAdmin on the Web Browser
> http://server_IPv4_address/phpmyadmin
eg, http://8.216.32.6/phpmyadmin/

")
CONCLUSION:
From this step you’ve been successfully in configuring phpMyAdmin with Nginx web server under Debian 11 (bullseye) running on Elastic Compute Service on Alibaba Cloud. You can create anything you want via phpMyAdmin, eg create or remove database, drop db tables, create users or set user passwords.
