
Start your VPS now with FREE $100 credit.
In today’s guide we will teach you on how to install and configure phpMyAdmin Manually on CentOS 7 with Nginx & PHP-FPM running inside the machine.
As we know that to do database management easily we can take advantage of free open-source software tools such as phpMyAdmin and Adminer. Without these two tools, we should be familiar with the MySQL or MariaDB variable system through the command line interface.
phpMyAdmin is a free open-source software tool written in PHP language. phpMyAdmin is intended to handle the administration of MySQL or MariaDB over the Web-based interface. It supports a wide range of operations on MySQL and MariaDB. Frequently used operations (managing databases, tables, columns, relations, indexes, users, permissions, etc) can be performed via the graphical user interface or GUI. While you still have the ability to directly execute any SQL statement via CLI or command line interface only.
Before moving into the installation procedure make sure to meet the following requirements:
PREREQUISITES:

* VPS, CLoud or Bare Metal
* Running under distro CentOS 7
* Must have NGINX and PHP-FPM installed on the machine
* Superuser Privileges (Root Access)
* Server IPv4 Address & Its Password
* Gnome Terminal for Linux Desktop
* PuTTy SSH Client for Windows or MacOS
1.) Let’s Download phpMyAdmin
First of all please directly download the latest stable release of phpMyAdmin using wget command.
$ cd /usr/share
$ wget https://files.phpmyadmin.net/phpMyAdmin/5.2.0/phpMyAdmin-5.2.0-all-languages.zip
2.) Extract phpMyAdmin Archive File
Then you can extract the phpMyAdmin-5.2.0-all-languages.zip file using the unzip command.
$ unzip phpMyAdmin-5.2.0-all-languages.zip
3.) Move phpMyAdmin Installation Directory
After that we can move the “phpMyAdmin-5.2.0-all-languages” installation directory to phpmyadmin directory.
$ mv phpMyAdmin-5.2.0-all-languages phpmyadmin
4.) Create A Symbolic Link
Create a symbolic link between your phpMyAdmin folder or directory to the public folder or documents root of your NGINX web server or your domain’s docs root (in cPanel WHM it’s called public_html), using the following two command lines.
$ ln -s /usr/share/phpmyadmin /usr/share/nginx/html
$ ln -s /usr/share/phpmyadmin /var/www/yourdomain.com/public
Make sure to replace yourdomain.com with your actual domain names if you want to run phpMyAdmin under yourdomain.com.
5.) Restart NGINX and PHP-FPM
After that you can restart both the NGINX web server and PHP-FPM services.
$ service nginx restart
$ service php-fpm restart
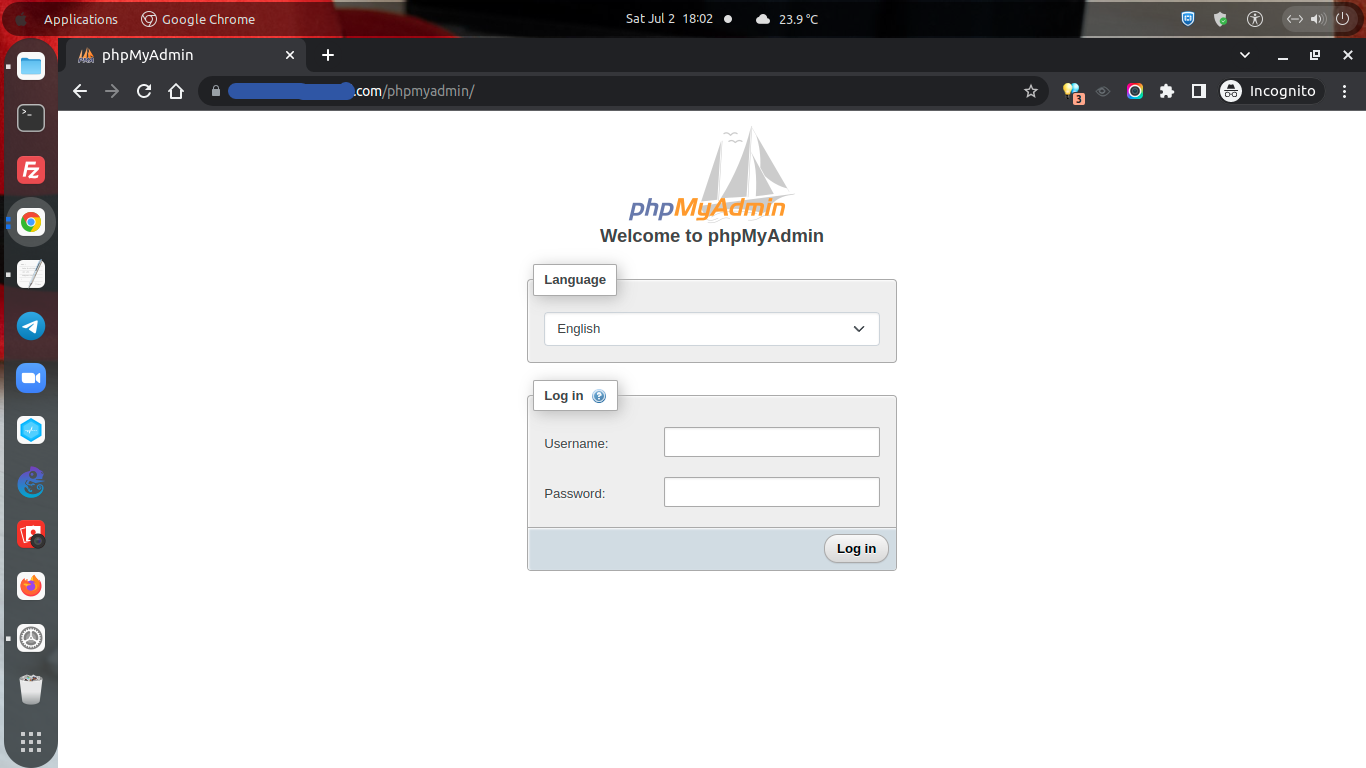
6.) Access your phpMyAdmin
Finally you can access phpMyAdmin for the first time at the following URL:
>> http://server_IPv4_address/phpmyadmin
OR
>> https://yourdomain.com/phpmyadmin
CONCLUSION:
Installing and configuring phpMyAdmin manually on CentOS 7 is quite easy. Simply follow the instructions above and you will then have phpMyAdmin installed on your VPS or Cloud Server with a CentOS 7-based distro. This is very useful for those of you who are new to or not familiar with the command lines on the Linux operating systems, but you need a Graphical User Interface (GUI) in order to manage your database.
