
Start your VPS now with FREE $100 credit.
On many Linux-based operating system, SWAP memory is very useful in some conditions when the virtual machine is out of memory. Especially if your virtual maching running with a low memory. That’s why we should at least create SWAP memory a half of its VM actual memory.
Well, today we will teach you on how to create a SWAP memory on cloud server running under Linux-based operating system. This could be applied on almost all virtual machine running with KVM-based virtualizations type. However, if your virtual machine is running with old-style virtualization type like OpenVZ for example, you can not do it!
Before creating a SWAP memory, make sure to meet the following software requirenment. We will do it on cheap $5 droplet from Digital Ocean, running under newly deployed Rocky Linux 8.5 OS.
PRE-REQUISITES:
* VPS, Cloud, or Bare-Metal Server
* Running under Linux-Based Operating System
* Server IPv4 Address with Superuser Privileges (Root Access)
* Gnome Terminal for Linux Desktop
* PuTTy SSH Client for Windows or Mac
* Powershell for Windows 10/11
1.) Check the Swap Space and File System
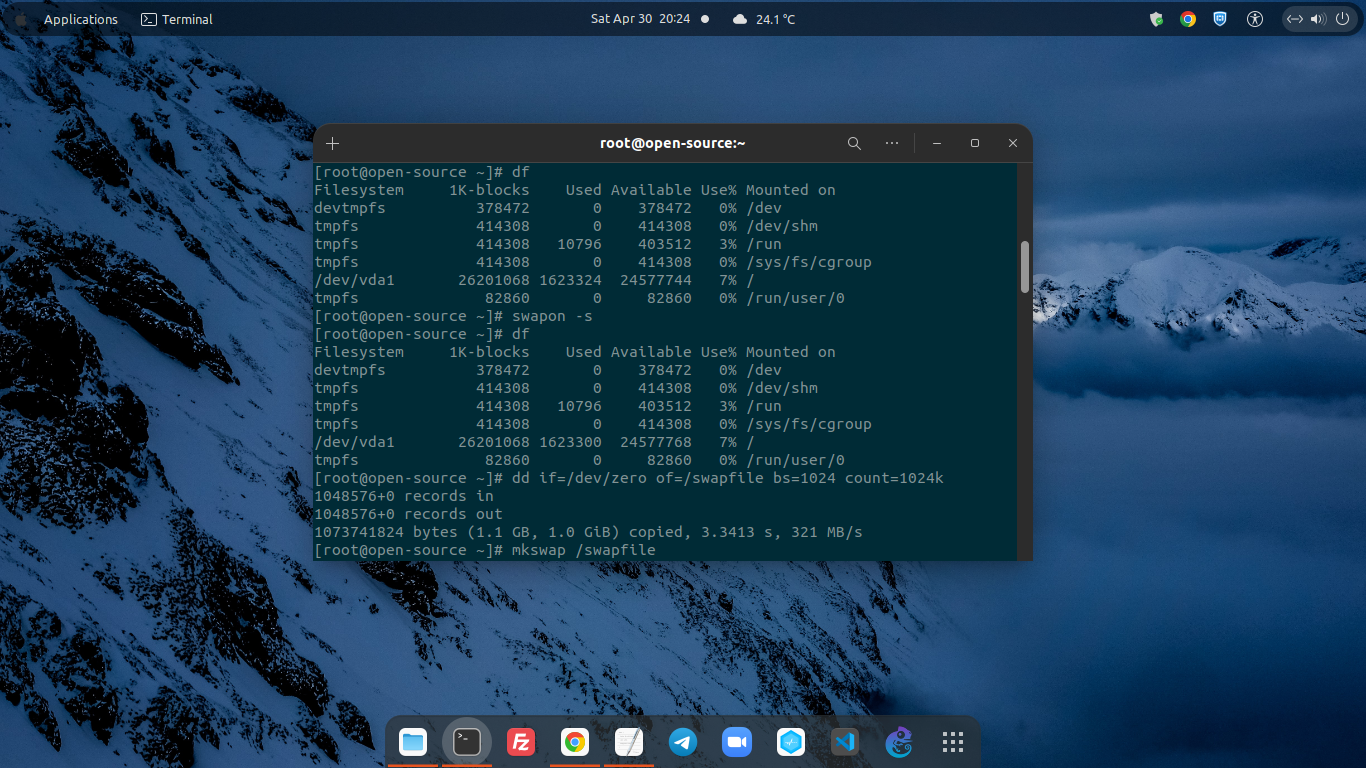
$ swapon -s

$ df

Filesystem 1K-blocks Used Available Use% Mounted on
devtmpfs 378472 0 378472 0% /dev
tmpfs 414308 0 414308 0% /dev/shm
tmpfs 414308 10796 403512 3% /run
tmpfs 414308 0 414308 0% /sys/fs/cgroup
/dev/vda1 26201068 1623300 24577768 7% /
tmpfs 82860 0 82860 0% /run/user/0
2.) Create and Enable SWAP File
Simply run the following command, so the script will write into the disk to create a SWAP memory.
$ dd if=/dev/zero of=/swapfile bs=1024 count=1024k

1048576+0 records in
1048576+0 records out
1073741824 bytes (1.1 GB, 1.0 GiB) copied, 3.3413 s, 321 MB/s
PLEASE NOTE: You can raise the count memory number into the greater number than the bs number if your virtual machine have more than 1GB of memory, for example as follow.
$ dd if=/dev/zero of=/swapfile bs=1024 count=2048k
3.) Enabling SWAP Memory file
You can run the following command to enabling SWAP memory file on your virtual machine.
$ mkswap /swapfile

mkswap: /swapfile: insecure permissions 0644, 0600 suggested.
Setting up swapspace version 1, size = 1024 MiB (1073737728 bytes)
no label, UUID=8b139965-07a4-4cec-bff5-58d7c94f80c3
$ swapon /swapfile

swapon: /swapfile: insecure permissions 0644, 0600 suggested.

$ swapon -s

Filename Type Size Used Priority
/swapfile file 1048572 0 -2
4.) Make the SWAP Permanently
After that you must edit the fstab file to make the SWAP memory can running permanently since VM boot. Make sure to install your preferred editor for Linux such as nano or vim editor. I will stick to nano editor.
$ nano /etc/fstab
Then copy and paste the following code into the fstab file.
/swapfile swap swap defaults 0 0
Output
#
# /etc/fstab
# Created by anaconda on Sun Nov 14 18:50:49 2021
#
# Accessible filesystems, by reference, are maintained under '/dev/disk/'.
# See man pages fstab(5), findfs(8), mount(8) and/or blkid(8) for more info.
#
# After editing this file, run 'systemctl daemon-reload' to update systemd
# units generated from this file.
#
UUID=4c90d825-f649-4c1b-97b8-11f283331ef5 / xfs defaults 0 0
/swapfile swap swap defaults 0 0
5.) Setting up Right Ownership and Correct Permissions for SWAP File.
Next, in order to create a more secure environment, you need to setting up for right file ownership and correct permission for SWAP file using the following command.
$ chown root:root /swapfile
$ chmod 0600 /swapfile
6.) Configure Swappiness Memory
Then you should configure Swappiness rule to at least 50% of the SWAP memory number.
$ cat /proc/sys/vm/swappiness
30

$ sysctl vm.swappiness=50
vm.swappiness = 50

$ cat /proc/sys/vm/swappiness
50
Or you can edit sysctl.conf file with the following rule.
$ nano /etc/sysctl.conf

# vm.swappiness setting.
vm.swappiness=50
Output
# sysctl settings are defined through files in
# /usr/lib/sysctl.d/, /run/sysctl.d/, and /etc/sysctl.d/.
#
# Vendors settings live in /usr/lib/sysctl.d/.
# To override a whole file, create a new file with the same in
# /etc/sysctl.d/ and put new settings there. To override
# only specific settings, add a file with a lexically later
# name in /etc/sysctl.d/ and put new settings there.
#
# For more information, see sysctl.conf(5) and sysctl.d(5).

# vm.swappiness setting.
vm.swappiness=50
Then run the following command, so the vm.swappines rule can be applied into your sysctl.conf file.
$ sysctl -p
vm.swappiness = 50
CONCLUSION:
You’ve been done in setting up SWAP memory on your virtual machine. You can do it yourself on your Linux machine, altough you have running bigger specs of virtual machine, cloud compute like AWS or GCP, or even a Bare-Metal and Dedicated Server.
